- 公開日:
Google ドキュメントでページを横向きにする方法
この記事では、Google ドキュメントでページを横向きに設定する方法をご紹介します。
デフォルトの設定ではページの向きは縦になっていますが、縦書きにする際には横向きにした方が便利です。
また、スマホ版のGoogle ドキュメントでページを横向きにする方法も説明します。
Google ドキュメントでページを横向きにする方法
WindowsのGoogle ドキュメントで、ページの向きを横にする方法をご紹介します。
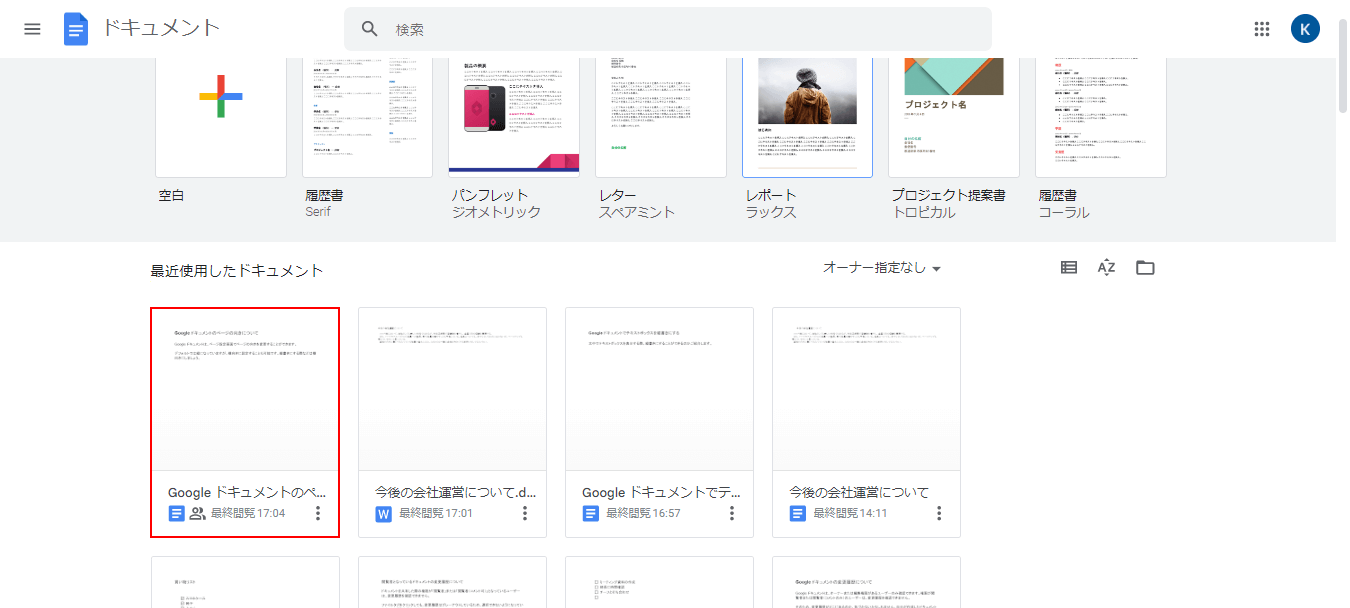
Google ドキュメントを開き、横向きにするドキュメントを選択します。
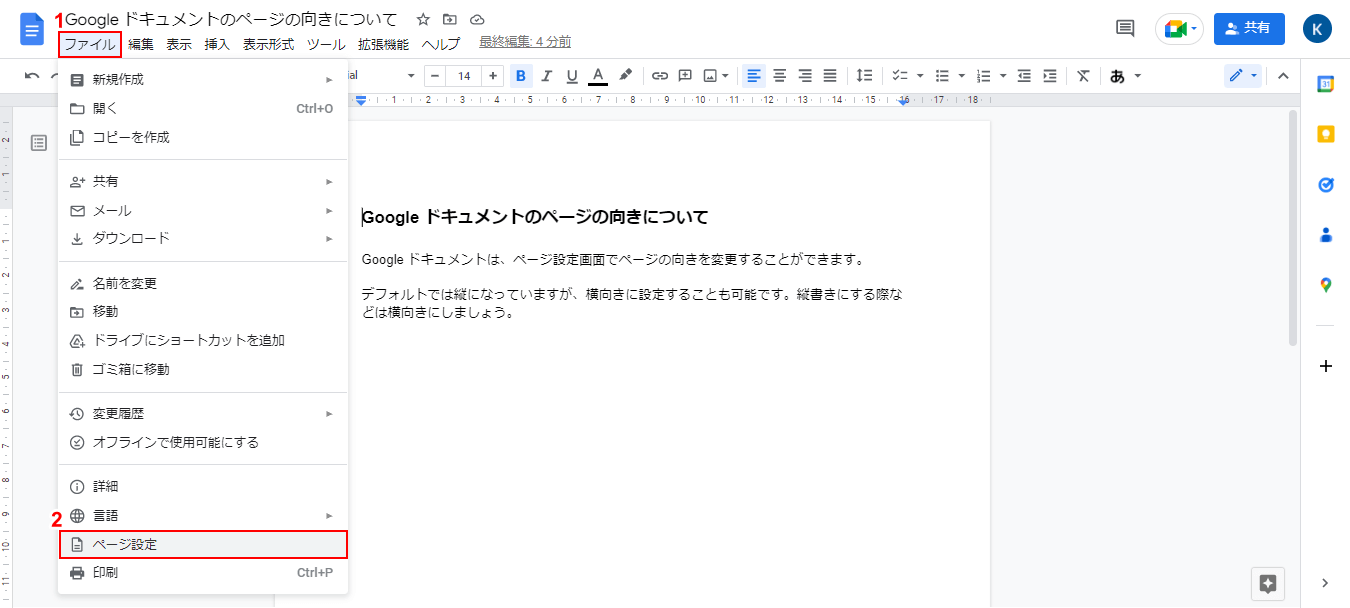
①「ファイル」タブ、②「ページ設定」の順に選択します。
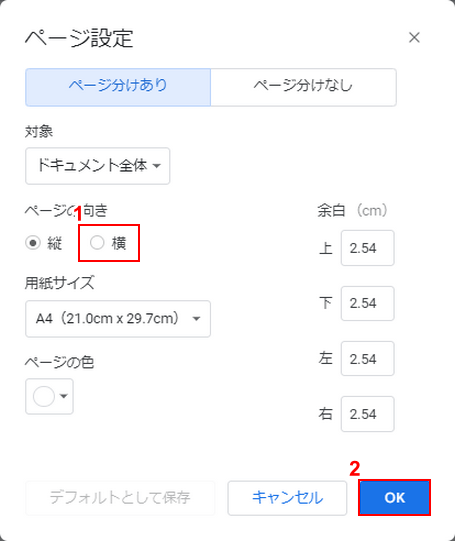
「ページ設定」ダイアログボックスが表示されます。ページの向きは、デフォルトでは「縦」となっていますので、①「横」を選択し、②「OK」ボタンをクリックします。
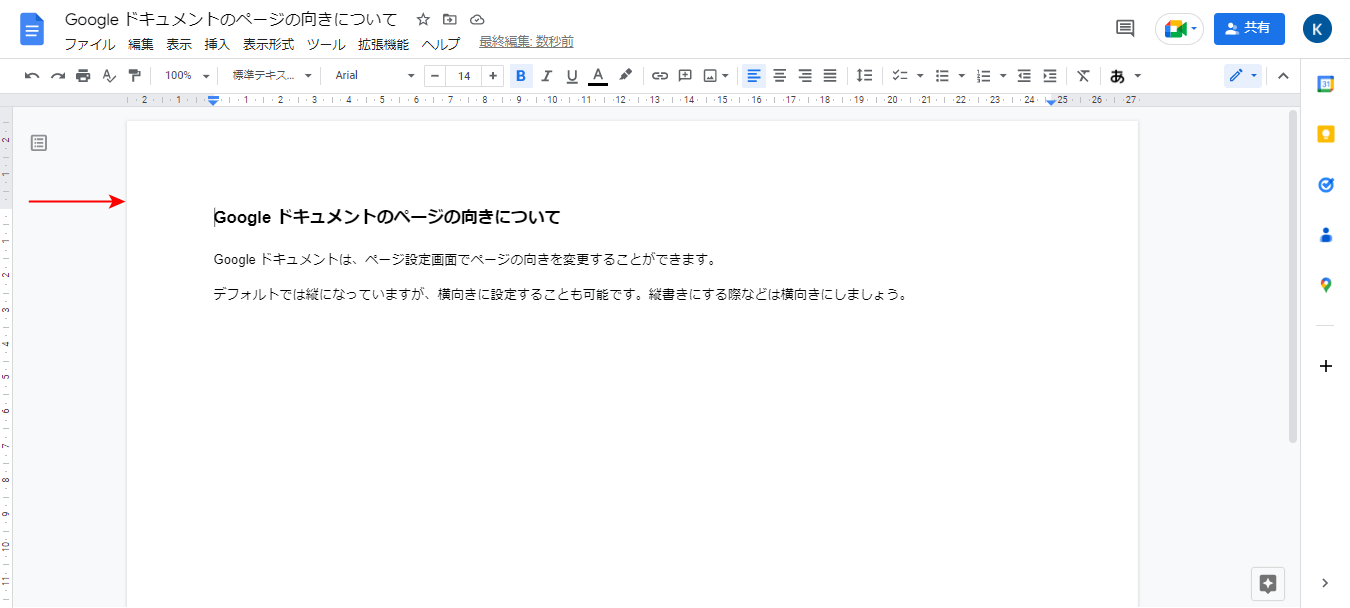
ページの向きが横向きになりました。
スマホ版のGoogle ドキュメントでページを横向きにする
iPhoneおよびAndroidのGoogle ドキュメントアプリで、ページを横向きに設定する方法をご紹介します。
iPhone
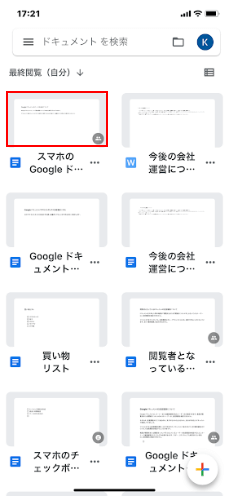
Google ドキュメントアプリを開き、横向きにするドキュメントを選択します。
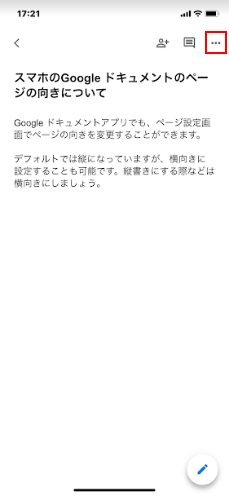
「…」をタップします。

「ページ設定」を選択します。
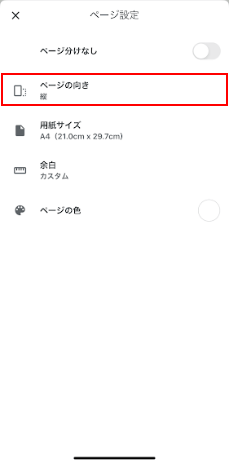
「ページの向き」をタップします。
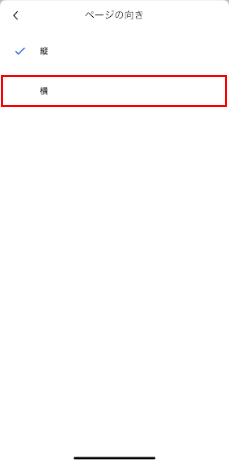
デフォルトでは「縦」になっていますので、「横」をタップします。
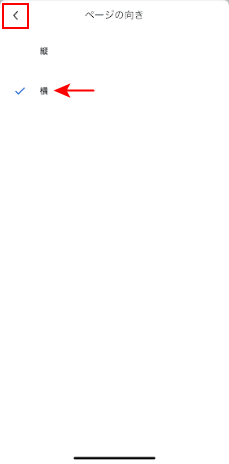
ページの向きが「横」になりました。「<」をタップします。
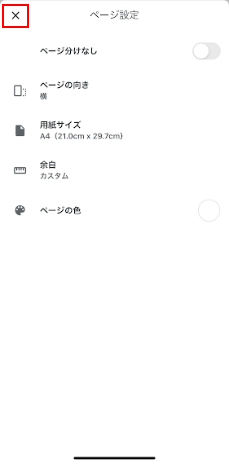
「✕」をタップします。

Google ドキュメントアプリの場合は、横向きになっても見た目には変わりません。「印刷レイアウト モードでの変更を表示」と表示されますので、「切り替え」をタップします。
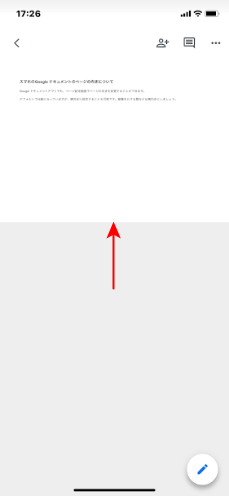
ページの向きが横になっていることがわかります。
Android
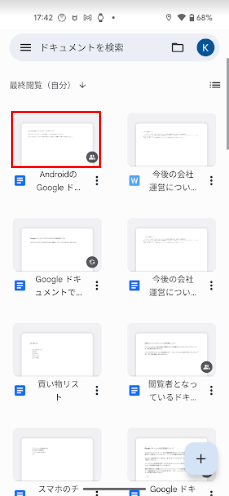
Google ドキュメントアプリを開き、横向きにするドキュメントを選択します。
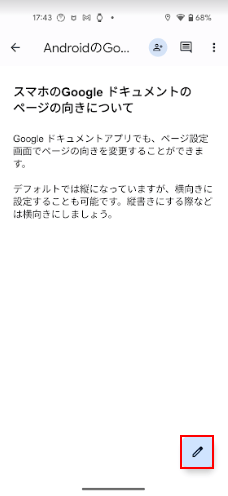
「編集」アイコンをタップします。
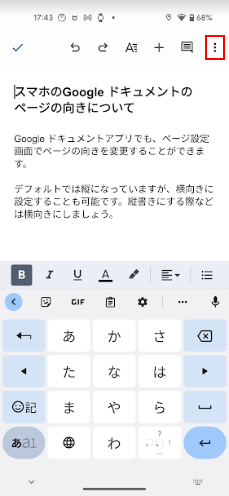
「︙」をタップします。
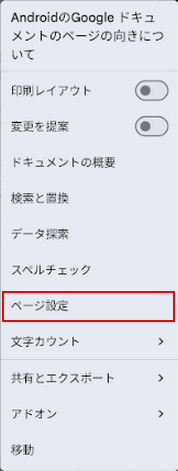
「ページ設定」を選択します。
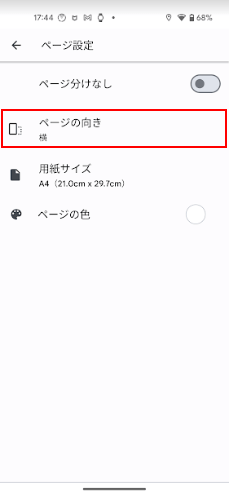
「ページの向き」をタップします。
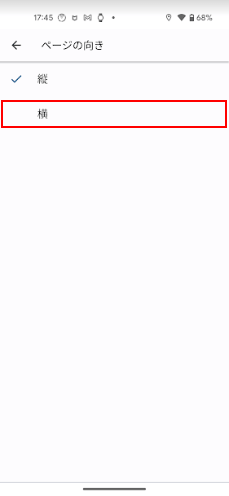
デフォルトでは「縦」になっていますので、「横」をタップします。
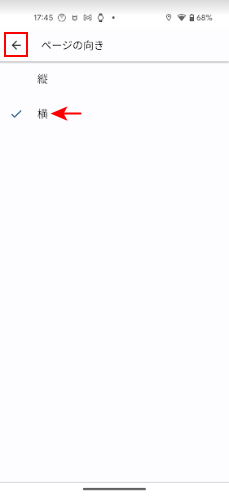
ページの向きが「横」になりました。「←」をタップします。

「←」をタップします。
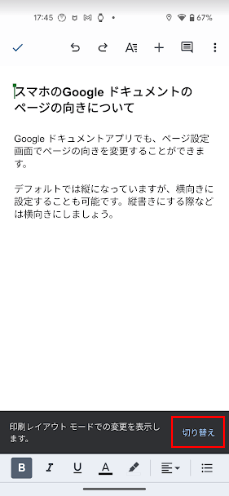
Google ドキュメントアプリの場合は、横向きになっても見た目には変わりません。「印刷レイアウト モードでの変更を表示します。」と表示されますので、「切り替え」をタップします。
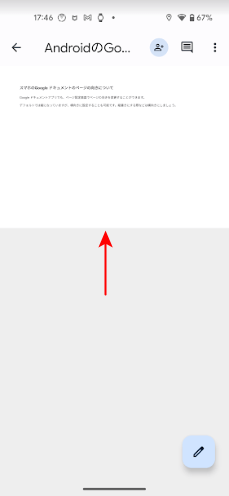
ページの向きが横になっていることがわかります。