- 公開日:
Google スライドの表のデザイン方法
こちらの記事では、Google スライドの表のデザインの編集方法についてご紹介します。
Google スライドに表を挿入したのはいいものの、デザインはどのように変えていくのかわからないという方もいらっしゃると思います。ぜひ参考にしてみてください。
Google スライドの表のデザイン方法
Google スライドの表のデザイン方法として、よく使用される編集項目ごとにその操作方法をご紹介します。
そもそも、Google スライドに表を挿入する方法が分からないという方は、まず以下の記事をご参照ください。
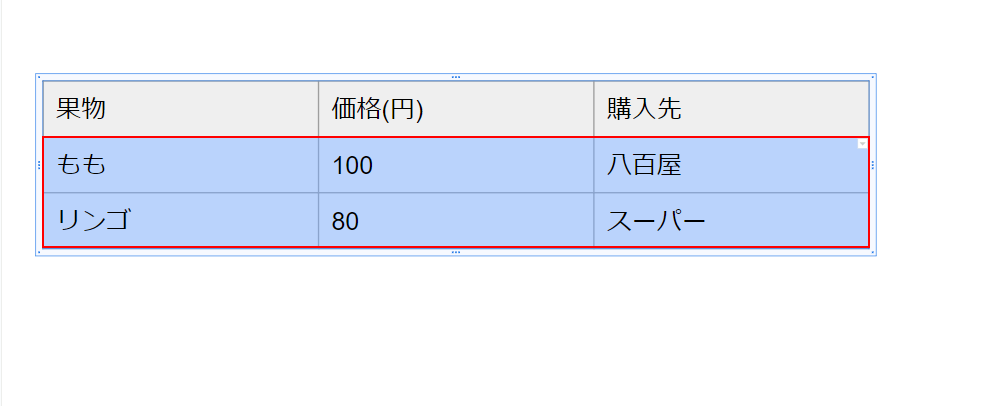
セルの色を変更する
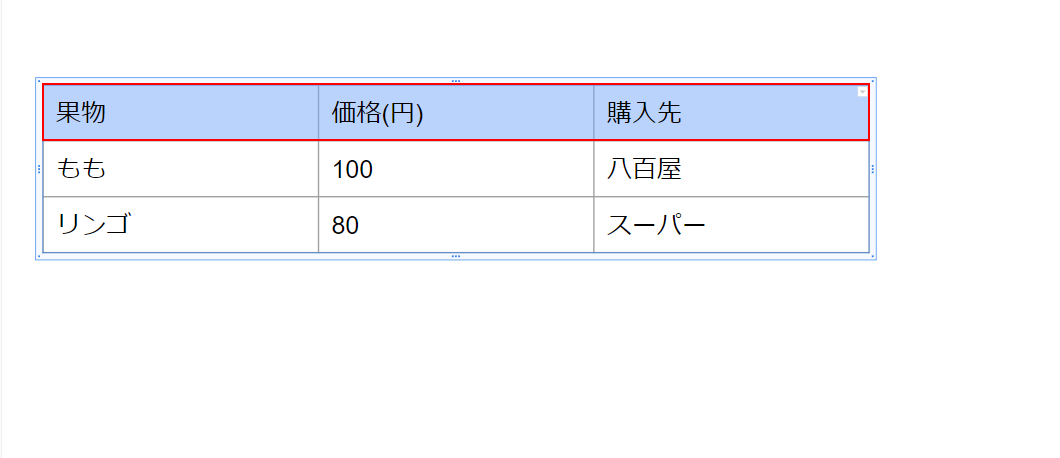
変更したいセルを選択します。
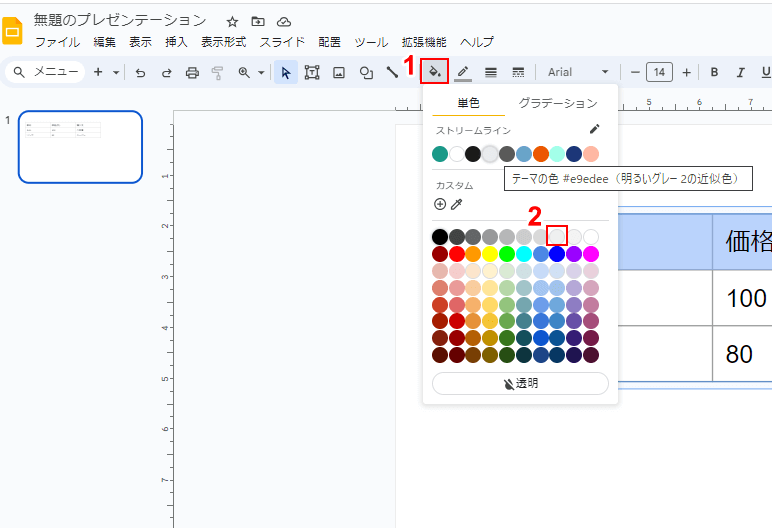
①上部メニューから「塗りつぶし」アイコンをクリックして、②変更したい色を選択します。
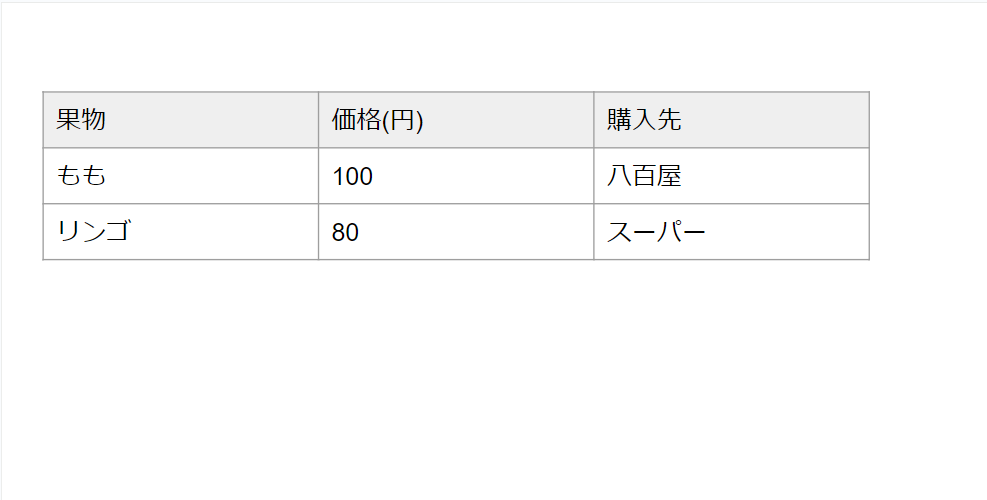
セルの色が変更されます。以上がGoogle スライドにおける、表(セル)の色の変更方法です。
テキストのサイズを変更する
テキストのサイズを変更したいセルを選択します。

上部メニューにフォントサイズの調整項目が表示されるので、文字を小さくしたい場合は「-」、文字を大きくしたい場合は「+」をクリックします。中央の数値が表示されている箇所に直接フォントサイズを入力することも可能です。
文字のサイズが変更されます。以上がGoogle スライドにおける、表のテキストサイズの変更方法です。
テキストの色を変更する

テキストの色を変更したいセルを選択します。
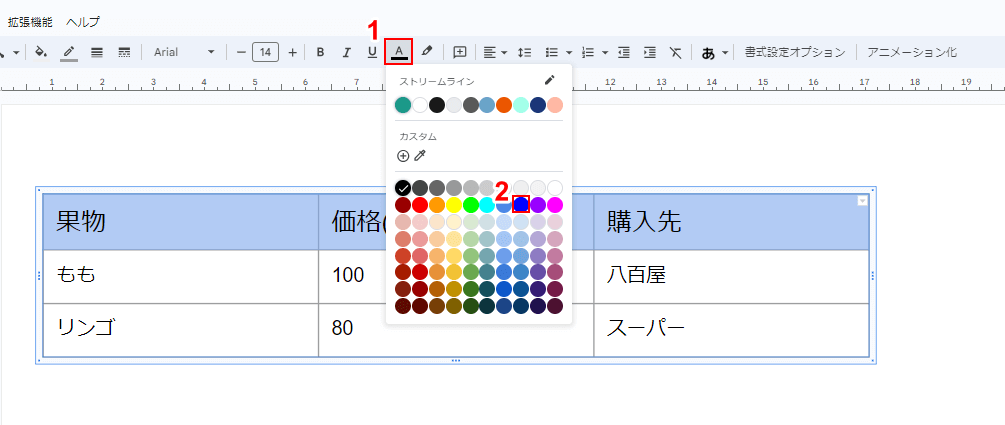
①上部メニューから「フォントカラー」アイコンをクリックして、②変更したい色を選択します。
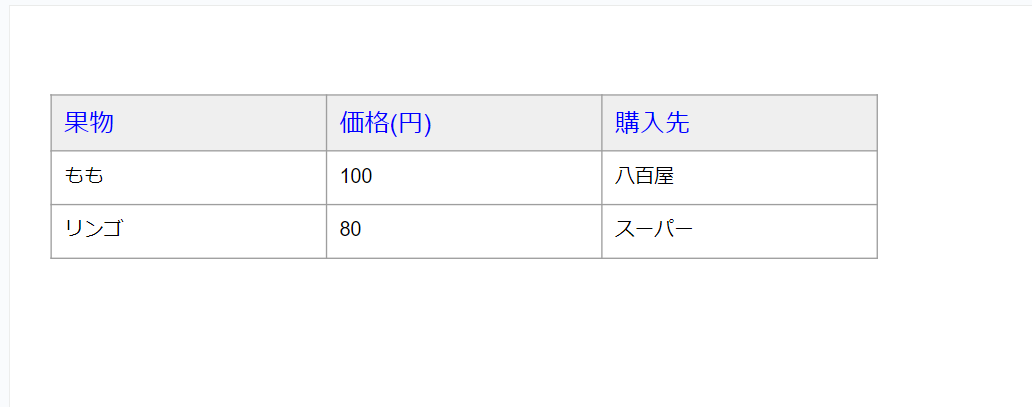
文字の色が変更されます。以上がGoogle スライドにおける、表の文字色の変更方法です。
行の高さを変える
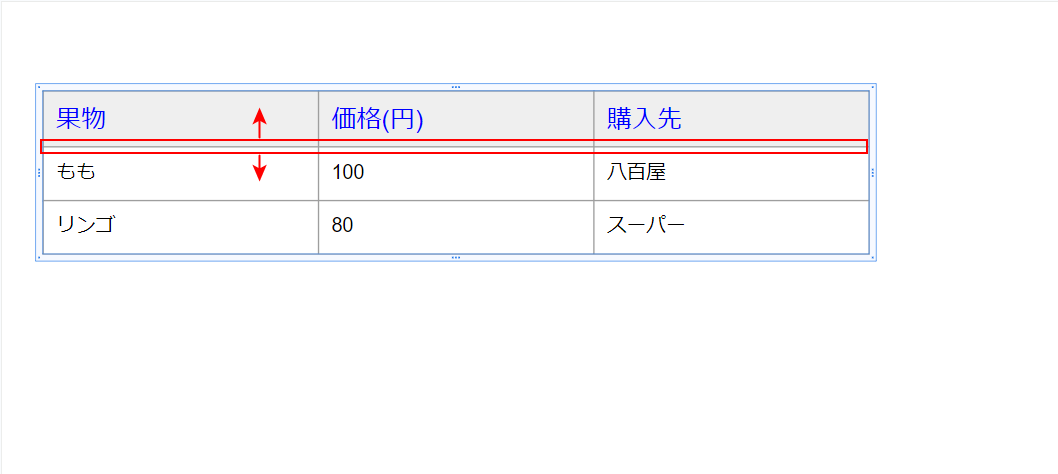
調整したい行をドラッグして上下に位置を調整します。
調整完了です。以上が、Google スライドにおける、表の高さの調整方法です。
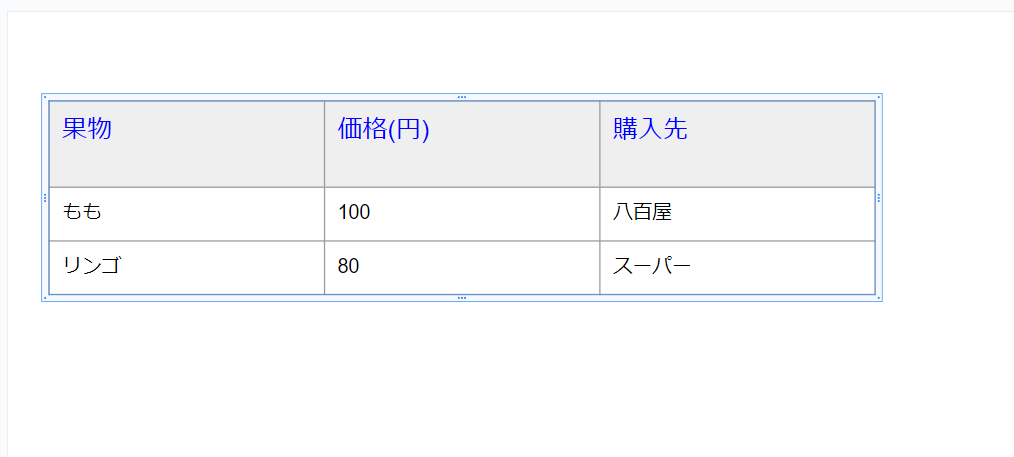
行の高さを均等にする
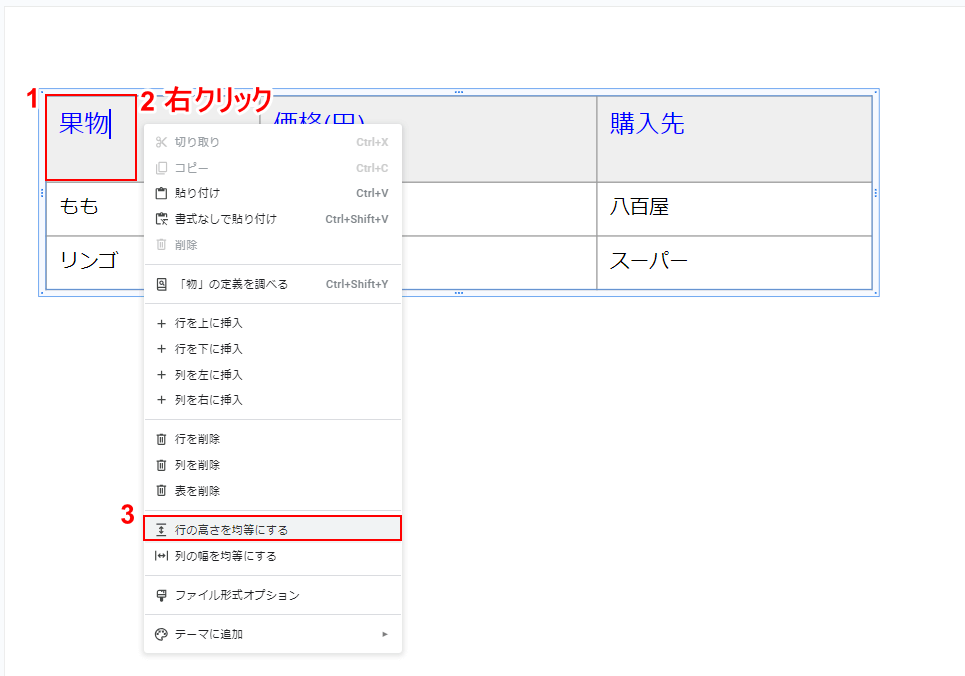
①表のセルのいずれかにカーソルを合わせ、②右クリックして、③表示される一覧から「行の高さを均等にする」をクリックします。

行の高さが均等に調整されます。以上が、Google スライドにおける、表の行の高さを均等にする方法です。
列の幅を変える
調整したい列をドラッグして上下に位置を調整します。
調整完了です。以上が、Google スライドにおける、表の列幅の調整方法です。
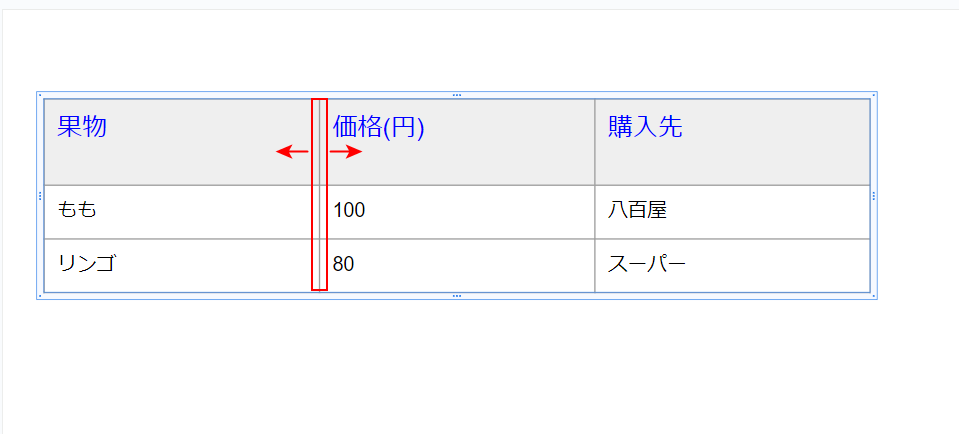
列の幅を均等にする

①表のセルのいずれかにカーソルを合わせ、②右クリックして、③表示される一覧から「列の幅を均等にする」をクリックします。

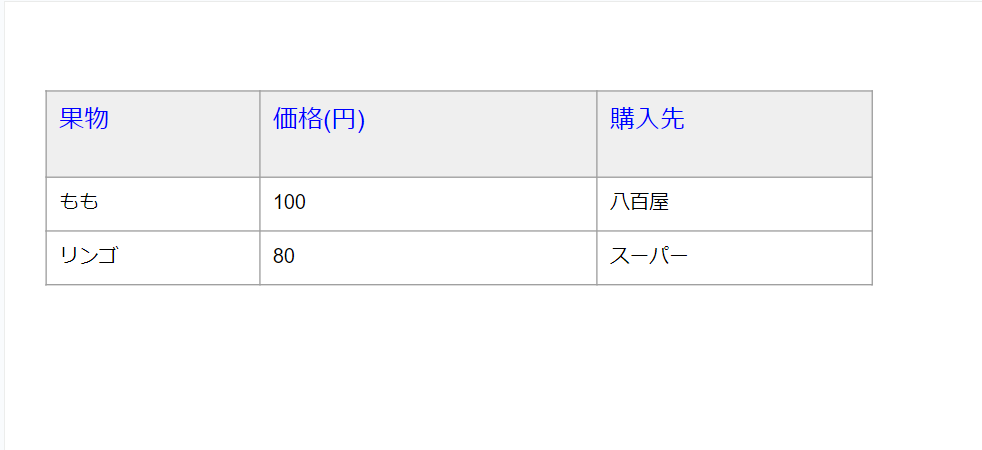
列の幅が均等に調整されます。以上が、Google スライドにおける、表の列の幅を均等にする方法です。
行を挿入する
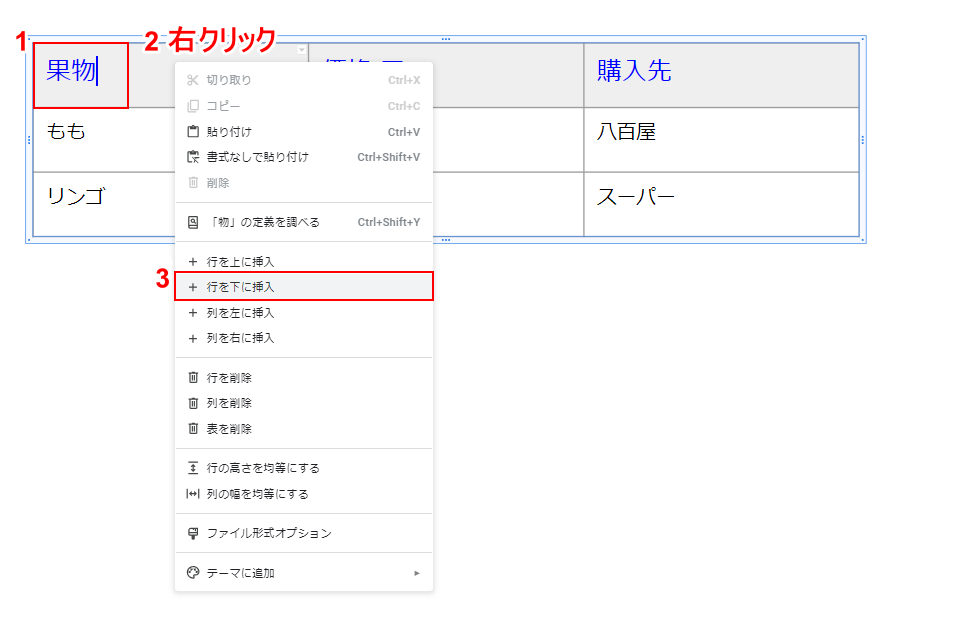
①挿入したい位置のセルにカーソルを合わせ、②右クリックして、③表示される一覧から「行を上に挿入」もしくは「行を下に挿入」をクリックします。今回は「行を下に挿入」を選択します。
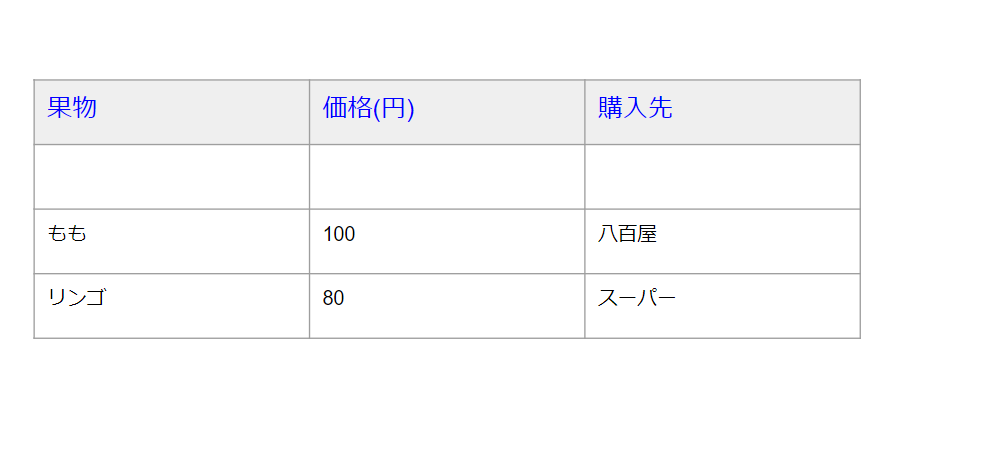
選択した位置に行が挿入されます。以上が、Google スライドにおける、行の挿入方法です。
列を挿入する
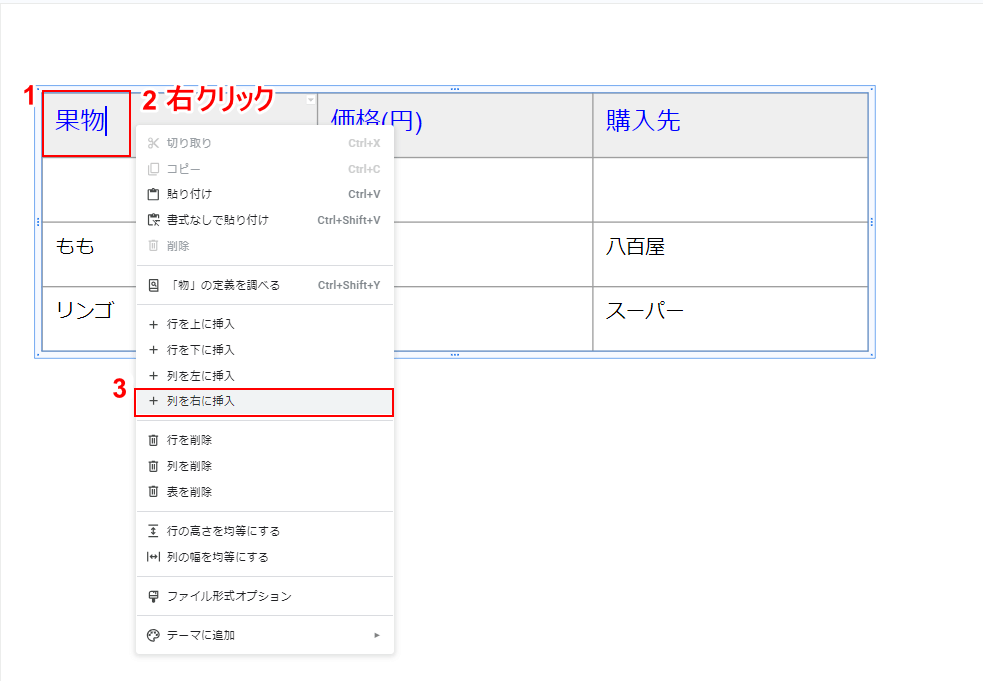
①挿入したい位置のセルにカーソルを合わせ、②右クリックして、③表示される一覧から「列を左に挿入」もしくは「行を右に挿入」をクリックします。今回は「列を右に挿入」を選択します。
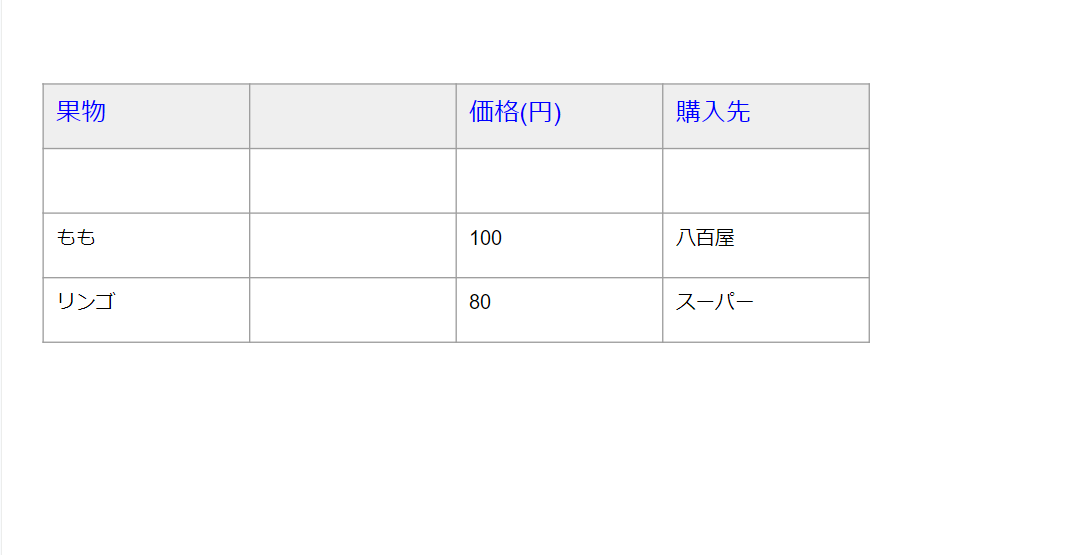
選択した位置に列が挿入されます。以上が、Google スライドにおける、列の挿入方法です。