- 公開日:
Google ドキュメントのA4のサイズや文字数について
この記事では、Google ドキュメントのA4サイズの文字数や用紙をA4に設定する方法について説明します。
Google ドキュメントで用紙サイズがA4の場合の文字数は、文字の大きさや余白などの設定によっても変わりますが、デフォルトの設定で文字数を実際にカウントした結果をご紹介します。
また、スマホのGoogle ドキュメントアプリで用紙サイズをA4サイズに設定する方法もご参照ください。
Google ドキュメントのA41枚あたりの文字数は?
Google ドキュメントのA4サイズ1枚あたりの文字数は、段落スタイルや文字の大きさ(フォントサイズ)、半角・全角、余白によって変わります。
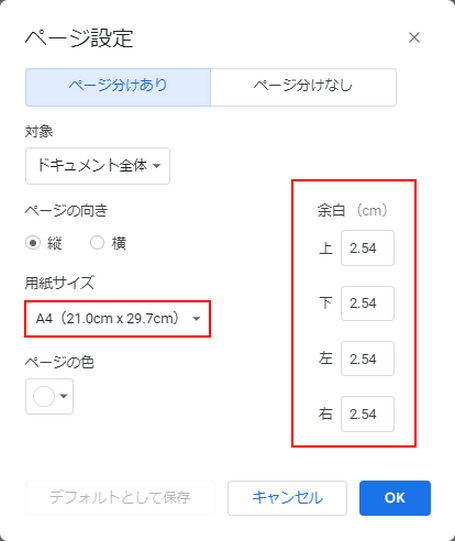
デフォルトの設定では、余白は上下左右各2.54cm、行間隔は1.15行、文字の大きさは「11」となっていますが、この設定で実際に文字数をカウントしてみましょう。
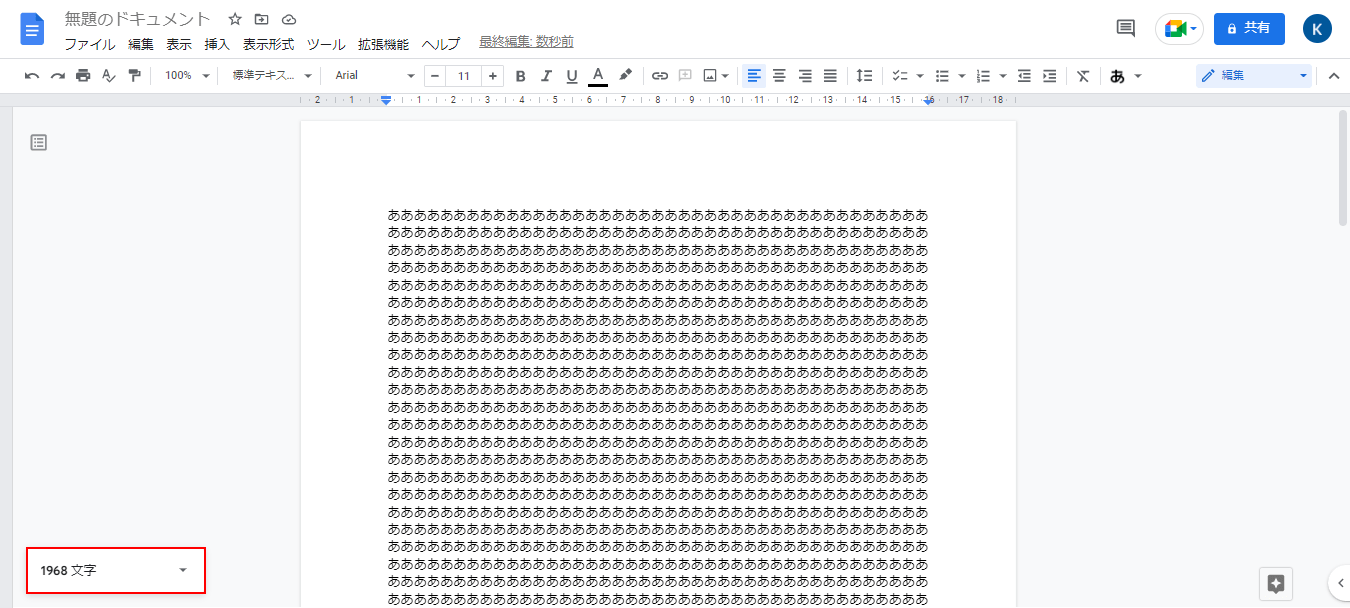
全角で「あ」と入力すると、1行41文字で48行ありますので、文字数は1,968文字となります。
Google ドキュメントでA4サイズに設定する方法
WindowsのGoogle ドキュメントで、用紙をA4サイズに設定する方法をご紹介します。例として、新しいドキュメントを作成して設定します。
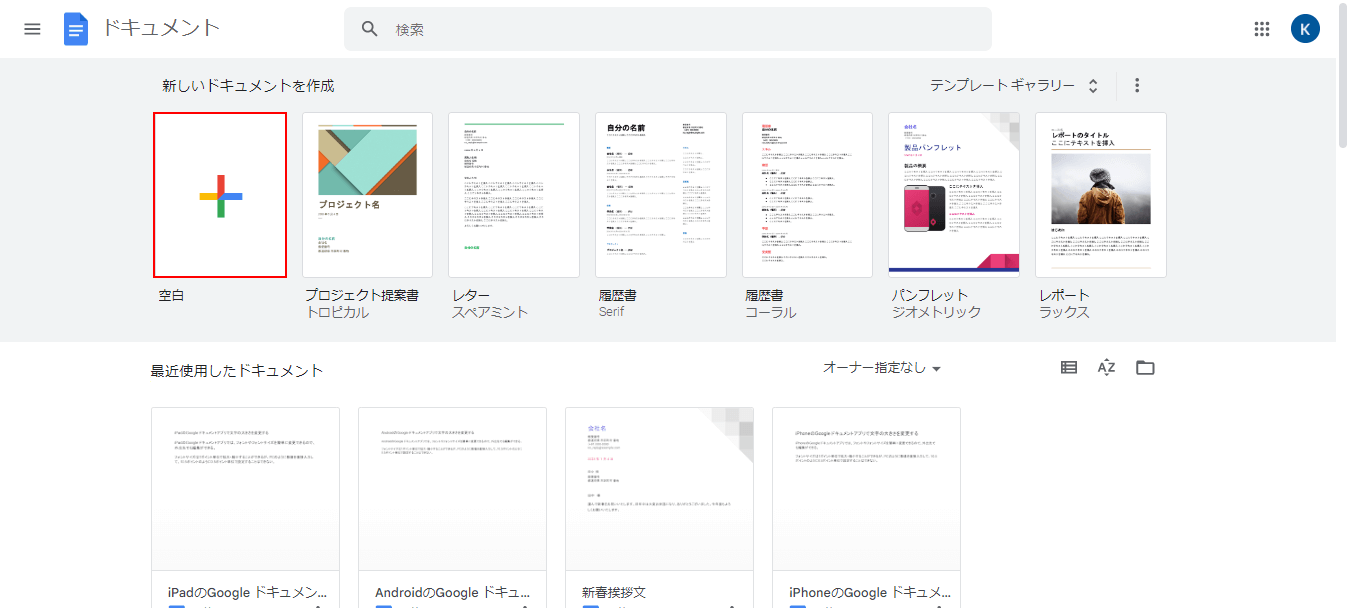
Google ドキュメントを開き、「新しいドキュメントを作成」の「空白」をクリックします。
①「ファイル」タブ、②「ページ設定」の順に選択します。
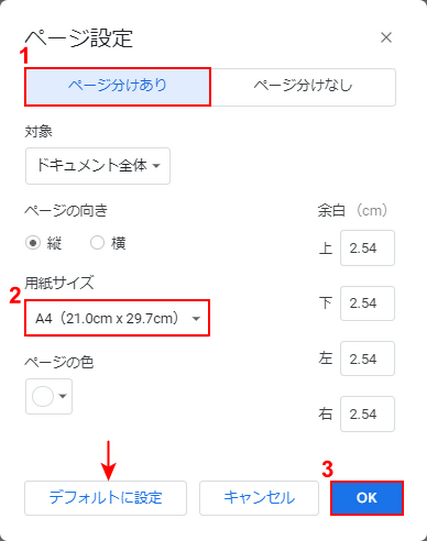
「ページ設定」ダイアログボックスが表示されますので、①「ページ分けあり」を選択し、②「用紙サイズ」をA4に設定(デフォルトではA4が選択されています)し、③「OK」ボタンをクリックします。「デフォルトに設定」をクリックすると、新しく作成したドキュメントにその設定が適用されます。
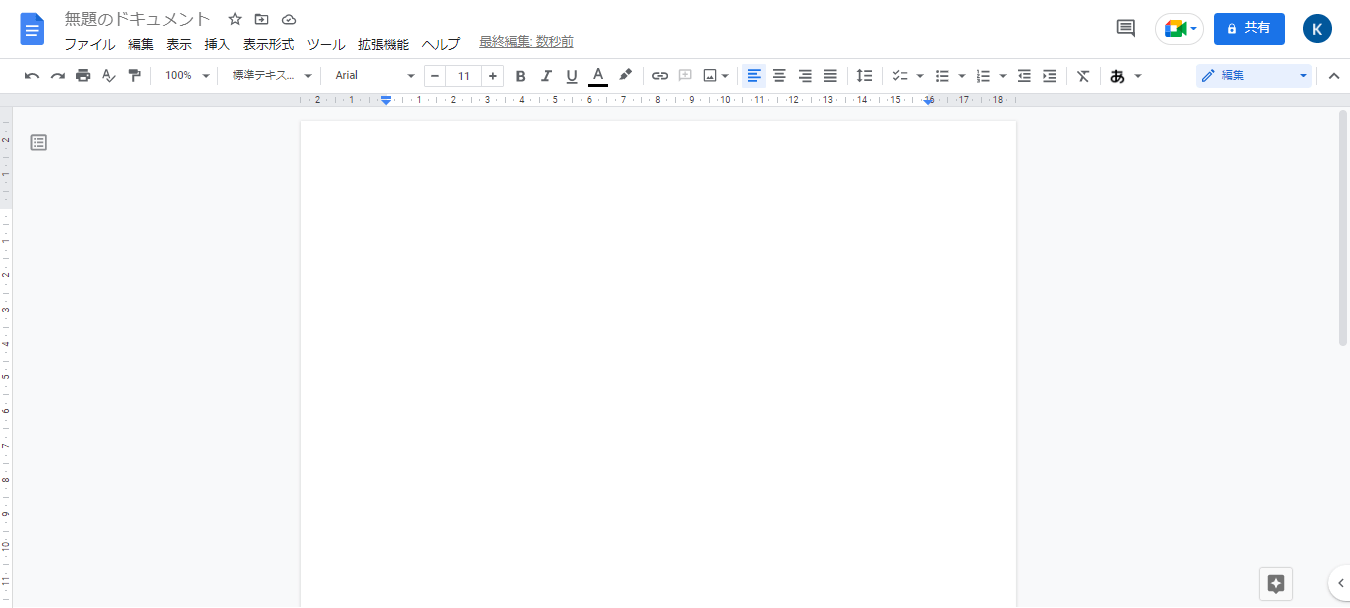
用紙がA4サイズに設定されました。
スマホのGoogle ドキュメントでA4サイズに設定する
PCだけではなく、スマホのGoogle ドキュメントアプリでもA4サイズに設定することができます。例として、新しいドキュメントを作成して設定します。
iPhone

Google ドキュメントアプリを開き、「+」アイコンをタップします。
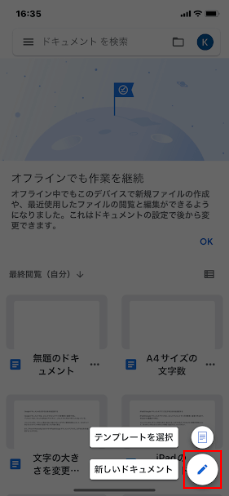
「ペン」アイコンをタップします。

「新しいドキュメント」ダイアログボックスが表示されますので、①「ファイル名」を入力し、②「作成」をタップします。
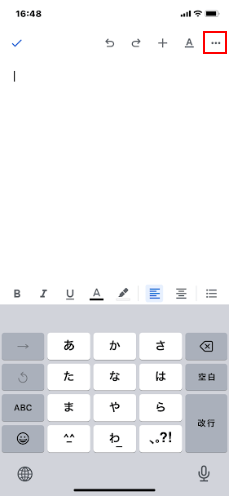
「…」をタップします。
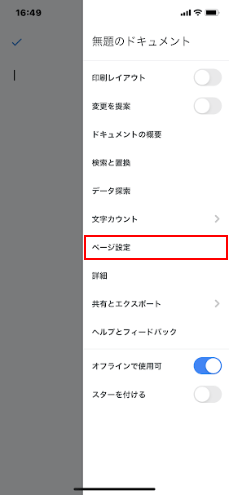
「ページ設定」を選択します。

①「ページ分けなし」をオフにし、②「用紙サイズ」を選択します(デフォルトではA4が選択されています)。
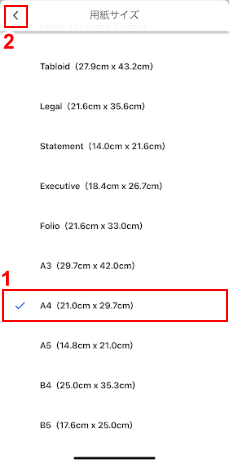
①「A4」を選択し、②「<」をタップします。
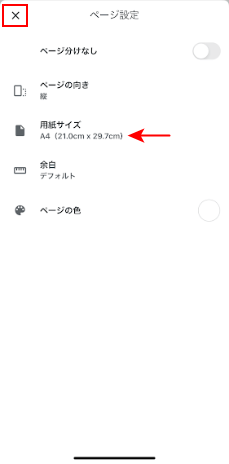
用紙サイズが「A4」に設定されました。「✕」をタップします。
Android
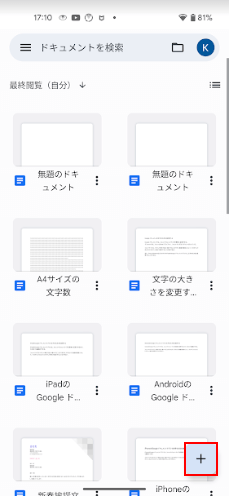
Google ドキュメントアプリを開き、「+」アイコンをタップします。
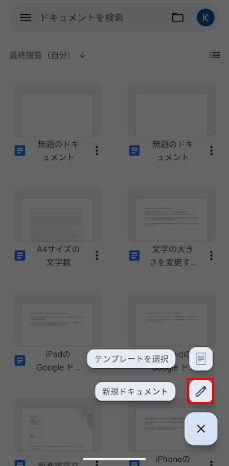
「ペン」アイコンをタップします。
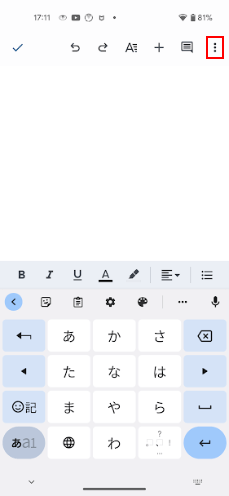
「︙」をタップします。
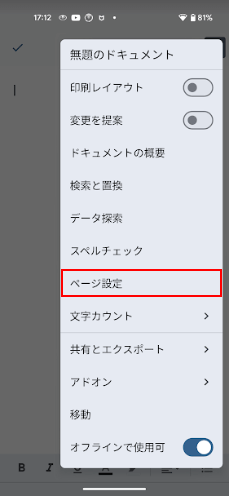
「ページ設定」を選択します。
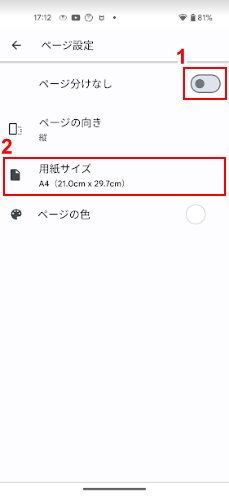
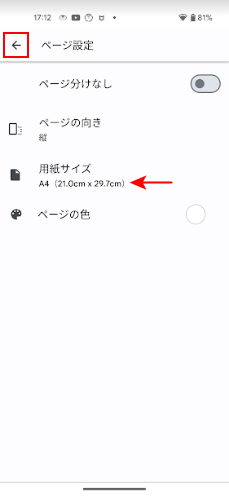
①「ページ分けなし」をオフにし、②「用紙サイズ」を選択します(デフォルトではA4が選択されています)。
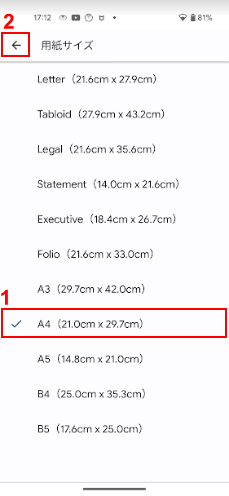
①「A4」を選択し、②「←」をタップします。
用紙サイズが「A4」に設定されました。「←」をタップします。