- 公開日:
Google ドキュメントの数式Texの使い方
この記事では、Google ドキュメントで数式を入力する方法について説明します。
Google ドキュメントには、計算式を挿入する機能があり、分数などの数式を入力することができます。
また、LaTexを使うことはできるのかどうかについてもご紹介します。
Google ドキュメントで数式を入力する方法

Google ドキュメントで対象のファイルを開き、数式を入力する位置にカーソルを合わせ、①「挿入」タブ、②「計算式」の順に選択します。

計算式のメニュー(ギリシャ文字、その他の演算記号、関係記号、演算記号、矢印)が表示されますので、追加する記号を選択します。
例として分数を入力するには、①「演算記号」をクリックし、②「分数」を選択します。
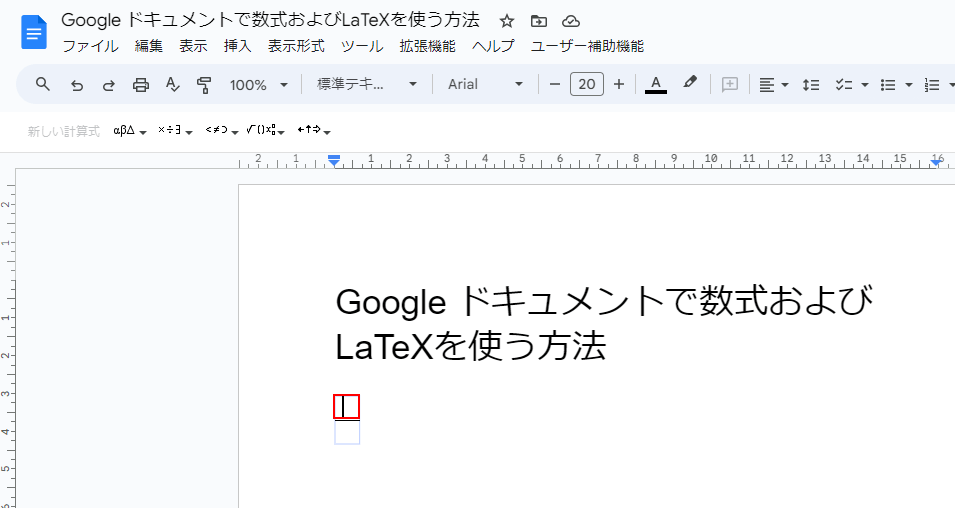
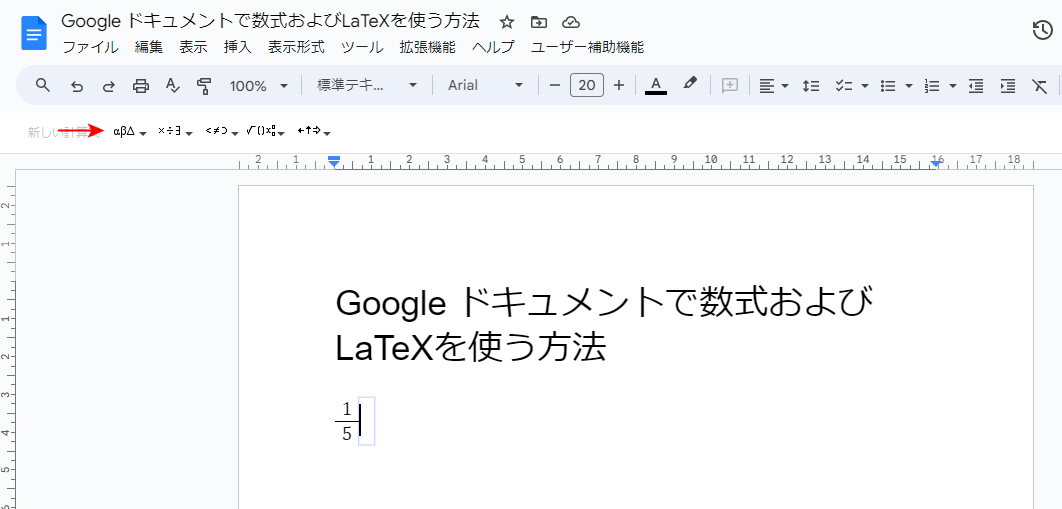
分数の入力ボックスが表示されますので、分子の数字を入力しEnterキーを押します。
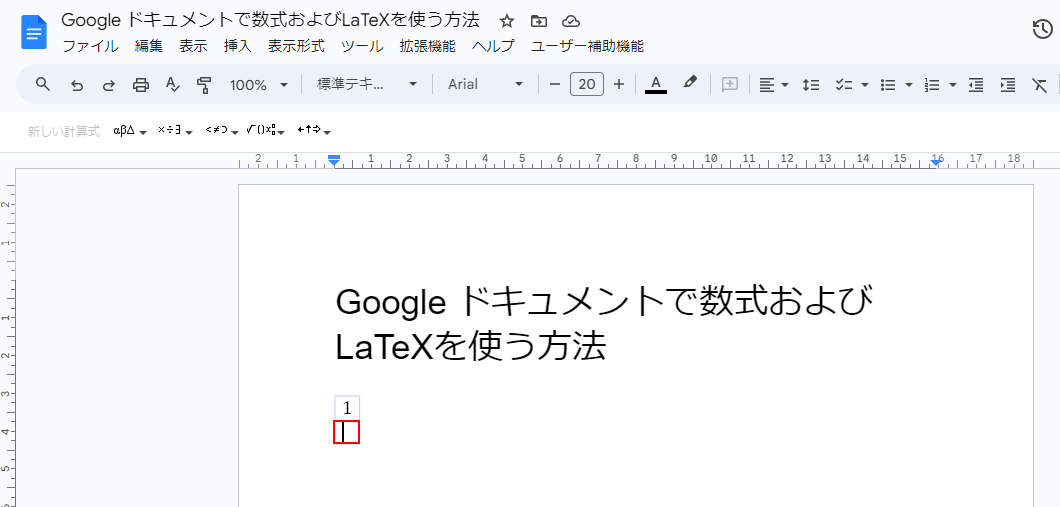
カーソルが分母に移動しますので、分母の数字を入力しEnterキーを押します。
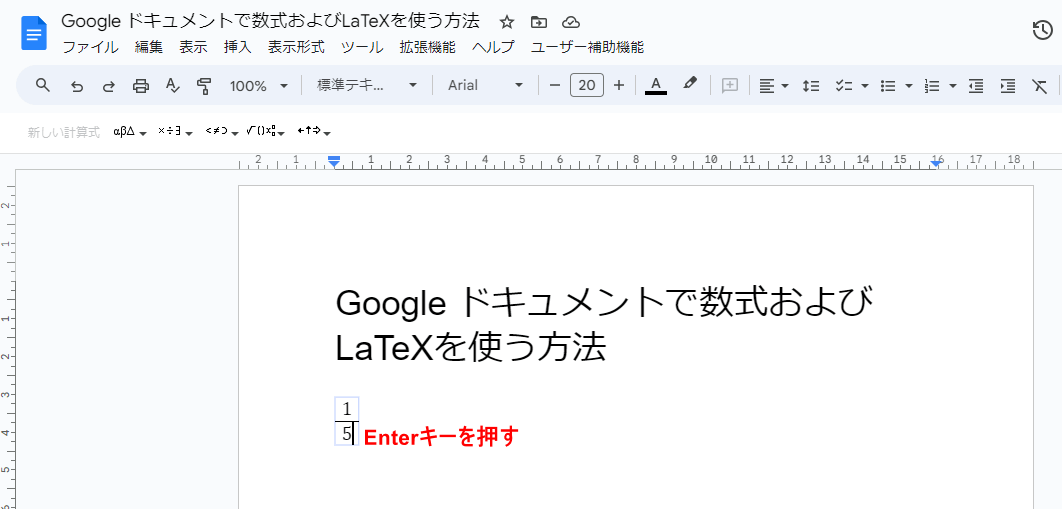
次の計算式を追加するには、再度Enterキーを押します。
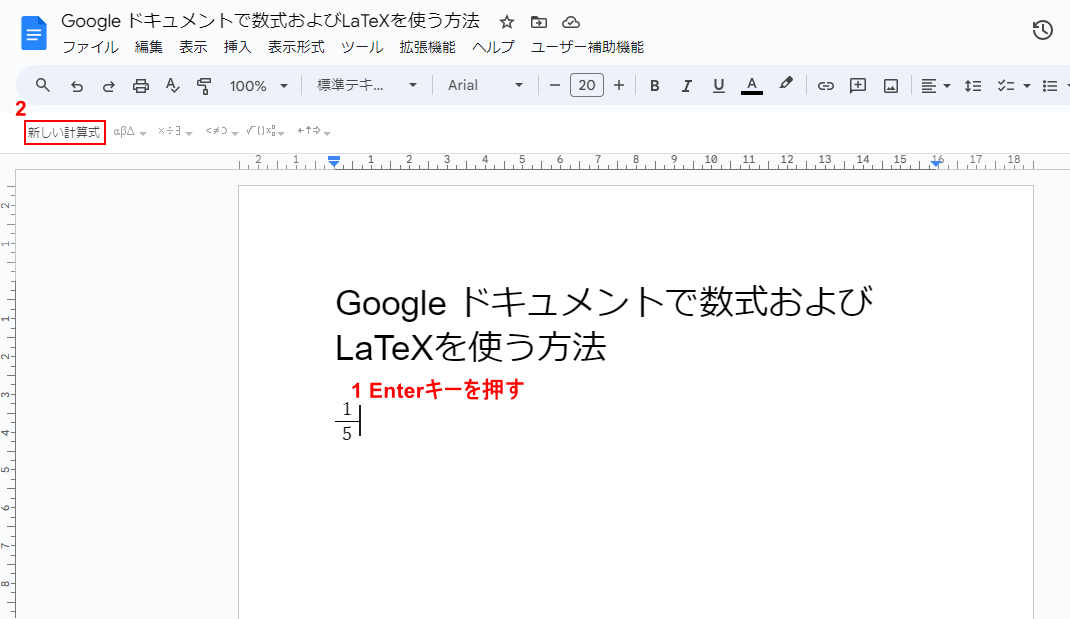
カーソルが移動しますので、①再度Enterキーを押し、②「新しい計算式」をクリックします。
計算式のメニューから次に追加する記号を選択し、数式を完成させます。
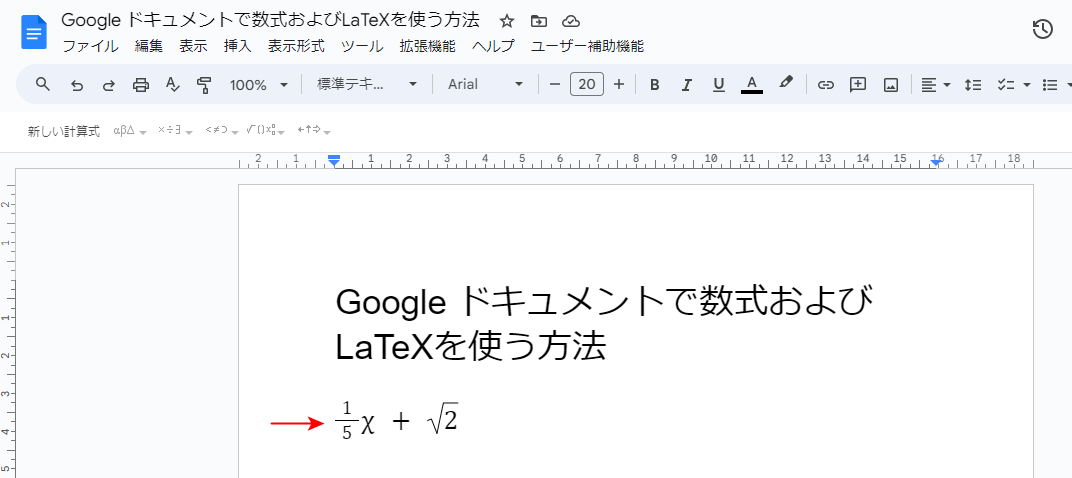
例として、上記のように表示できます。
数式(計算式)のショートカットについて
Google ドキュメントでは、数式(計算式)のショートカットを使うことができます。
| ショートカットキー | |
|---|---|
| 上付き文字 | 「\」の後に Shift+6 |
| 下付き文字 | 「\」の後に Shift+- |
また、計算式で「\」の後に記号名とスペースを入力すると、記号を挿入することが可能です。
例えば「\alpha 」と入力すると「α」、「\beta 」と入力すると「β」が挿入されます。
Google ドキュメントでLaTeXは使える?
Google ドキュメントには、LaTeXを使える機能はありませんが、アドオンをインストールすることで使えるようになります。その方法をご紹介します。
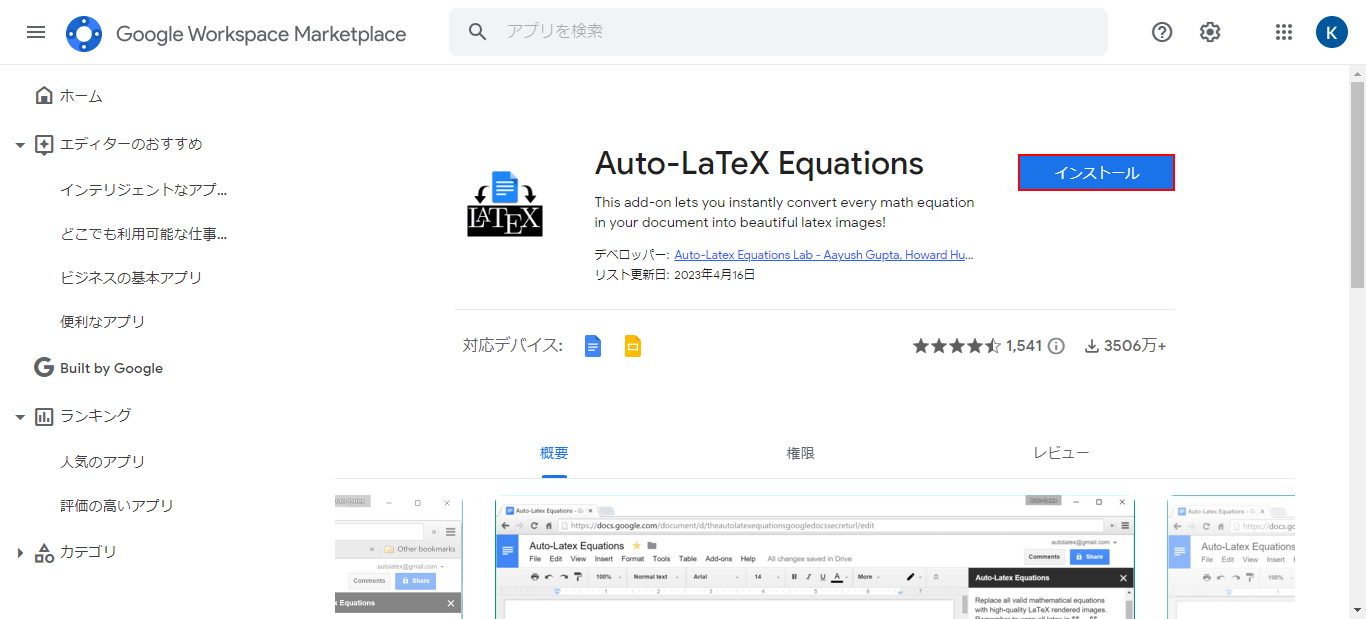
Auto-LaTeX Equationsにアクセスし、「インストール」ボタンをクリックします。
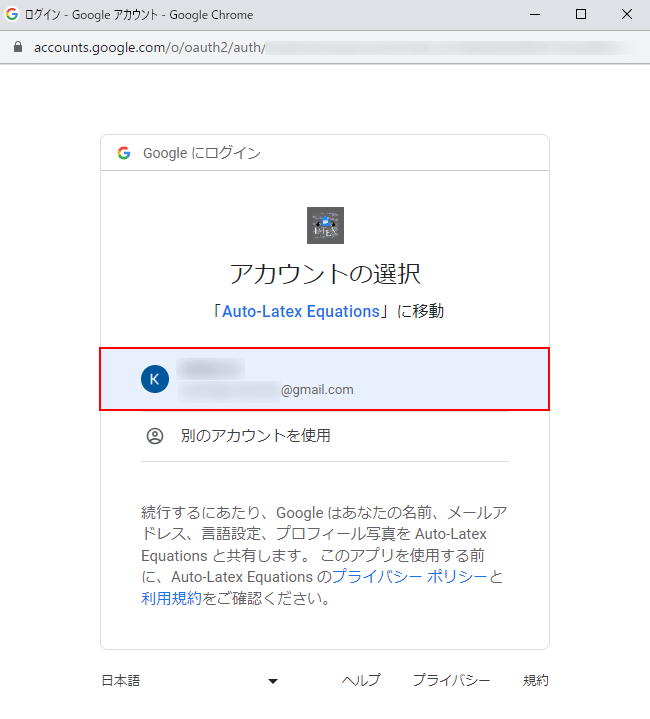
「アカウントの選択」画面が表示されますので、Google ドキュメントで使っているアカウントを選択します。
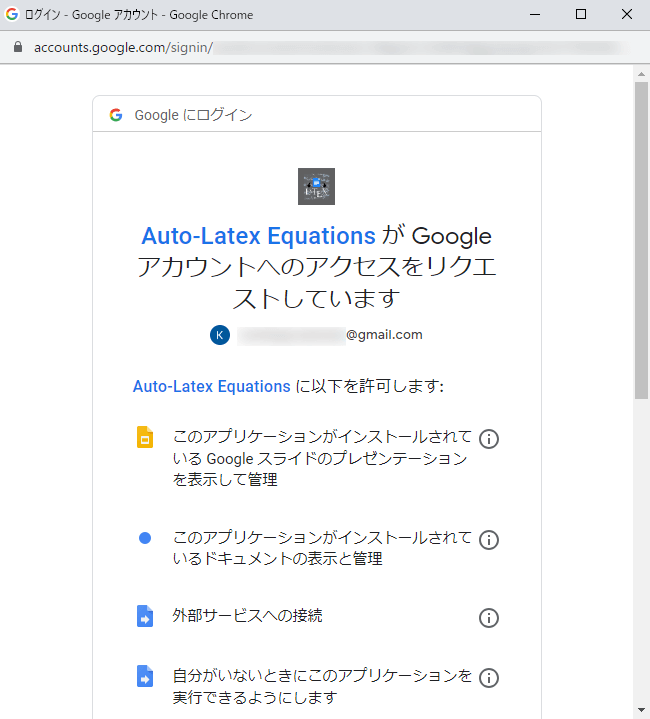
「Auto-LateX EquationsがGoogle アカウントへのアクセスをリクエストしています」と表示されますので、内容を確認します。
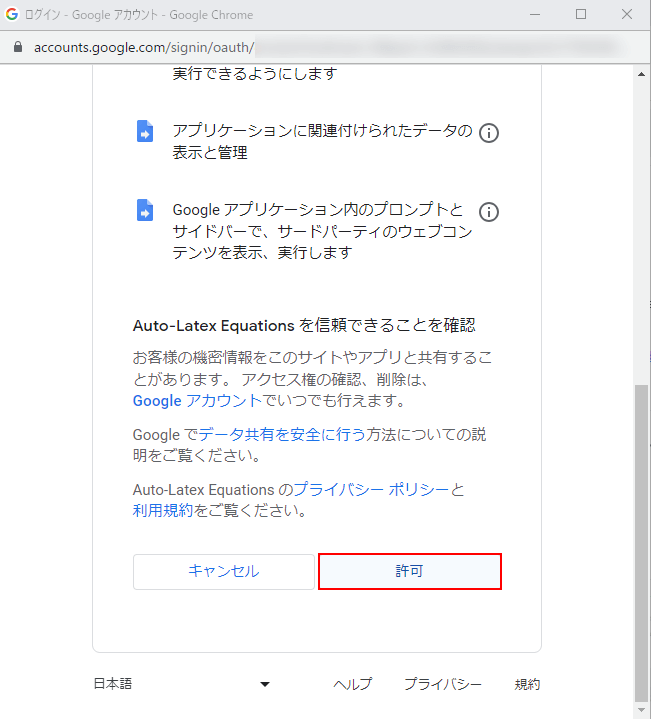
許可する内容を確認後、「許可」をクリックします。

「Auto-LaTeX Equationsをインストールしました。」と表示されますので、「次へ」をクリックします。
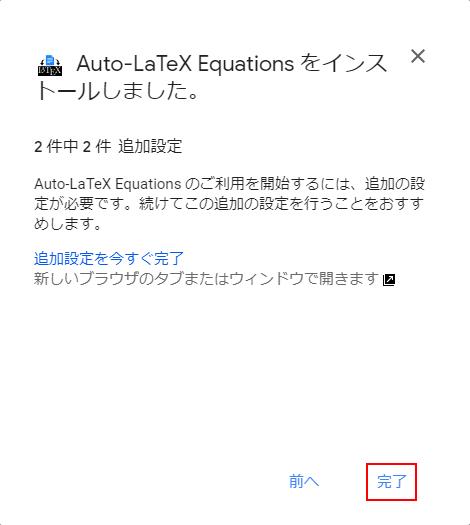
「完了」をクリックします。

Google ドキュメントでLateXを使ったファイルを開き、①「拡張機能」、②「Auto-LaTeX Equations」、③「Start」の順に選択します。
「Auto-LaTeX Equations」が表示されない場合は、ページを再読み込みしてください。

Auto-LaTeX Equationsのサイドパネルが表示されますので、「Render Equations」ボタンをクリックします。
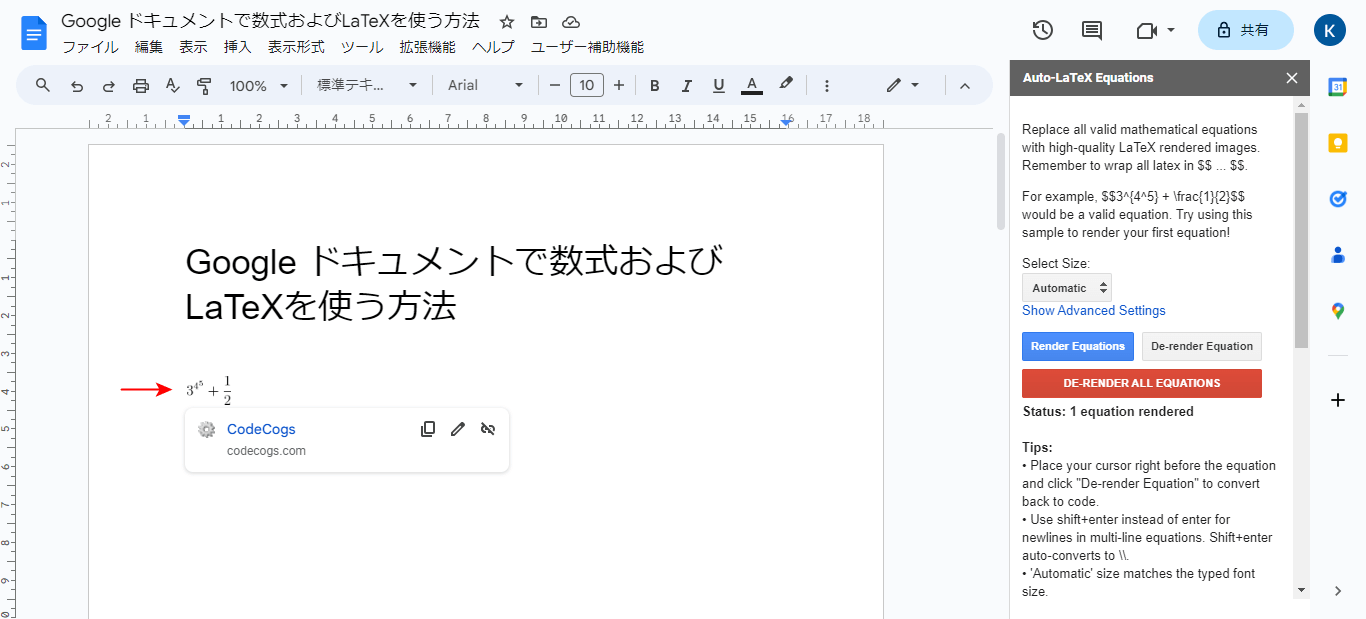
例としてLaTexで入力した「$$3^{4^5} + \frac{1}{2}$$」が数式で表示されました。
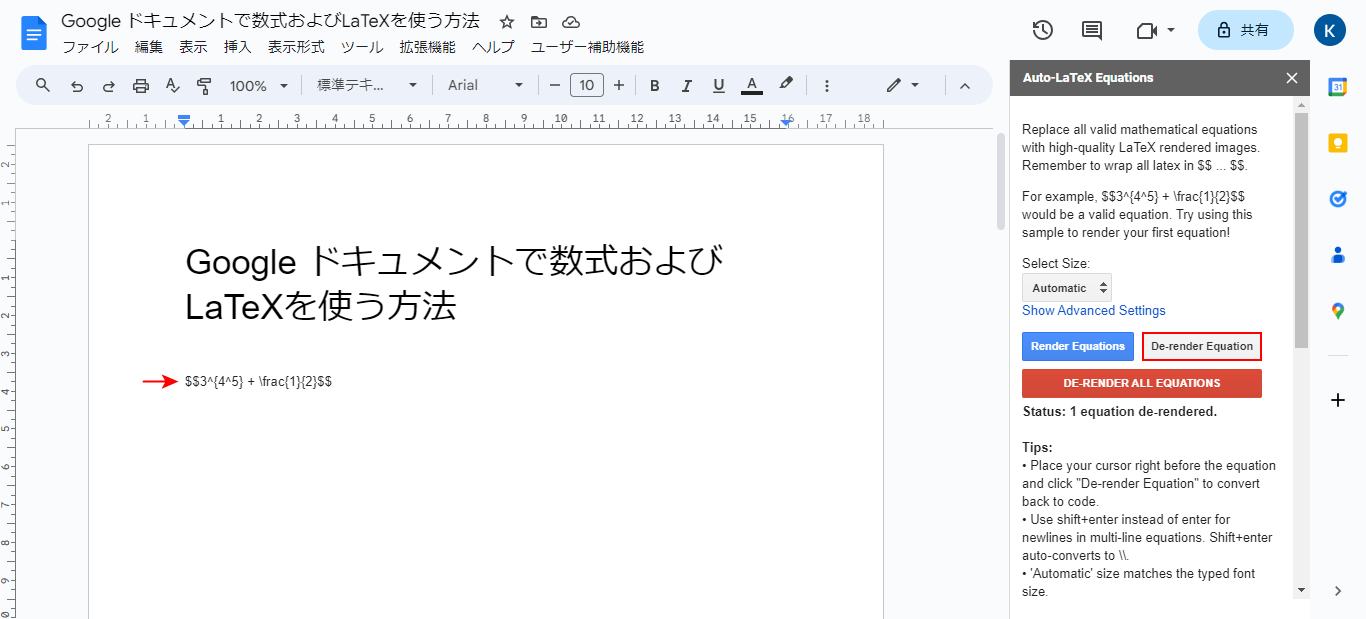
「De-render Equations」をクリックすると、LaTexに戻ります。