- 公開日:
iPad版Google Meetの使い方
この記事では、iPadで利用できるGoogle Meetアプリの使い方を説明します。
Google Meetアプリ(iPad)のインストール方法、ホストとして会議を開催する方法、会議画面のレイアウトを変更する方法について解説しています。
iPad版Google Meetの使い方
iPad版Google Meetのインストールについて
Google MeetはiPadにもインストールすることができます。
iPadにGoogle Meetをインストールしたい方は、App Storeにアクセスしてください。
会議を行う方法
iPad版Google Meetで会議を行う方法について説明します。
今回は、iPadがホスト(招待する側)、PCがゲスト(招待される側)でGoogle Meetの会議を行います。
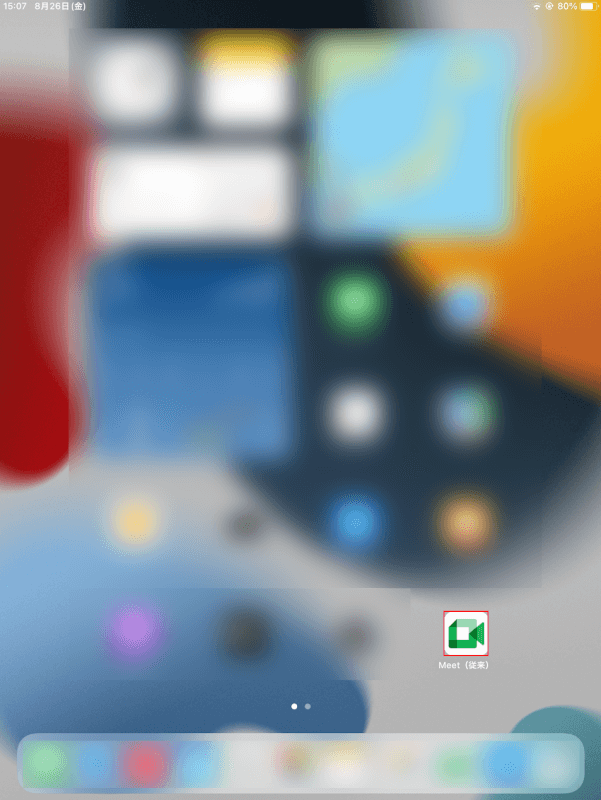
iPadを開き、Meetアプリを選択します。
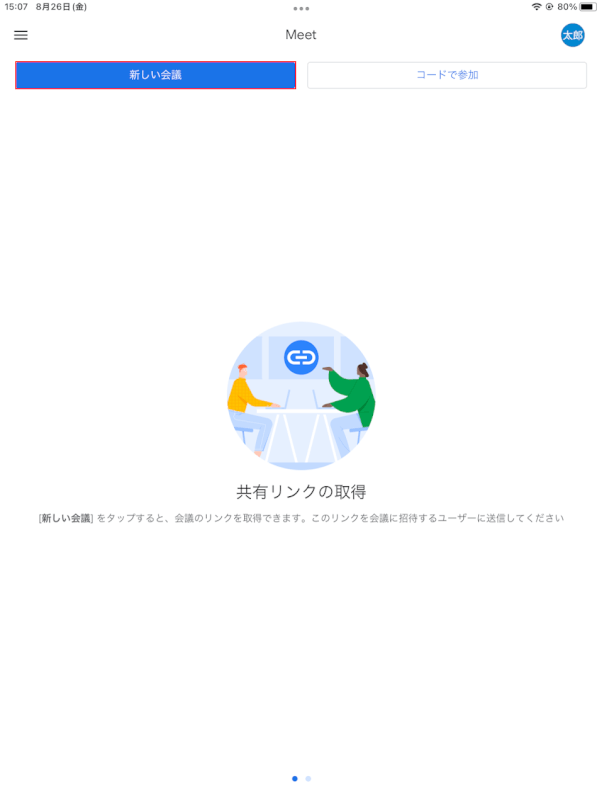
新しい会議ボタンをタップします。
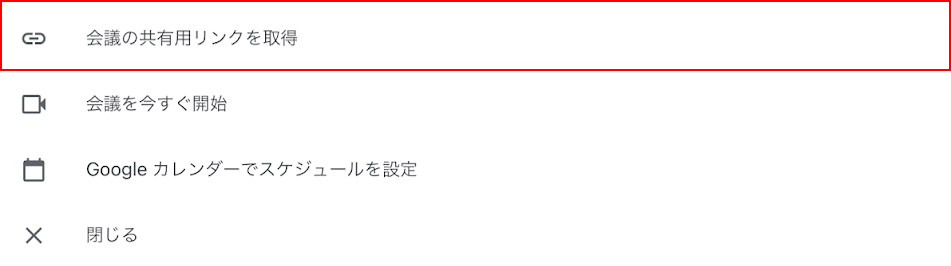
会議の共有用リンクを取得をタップします。

招待状を共有ボタンをタップします。
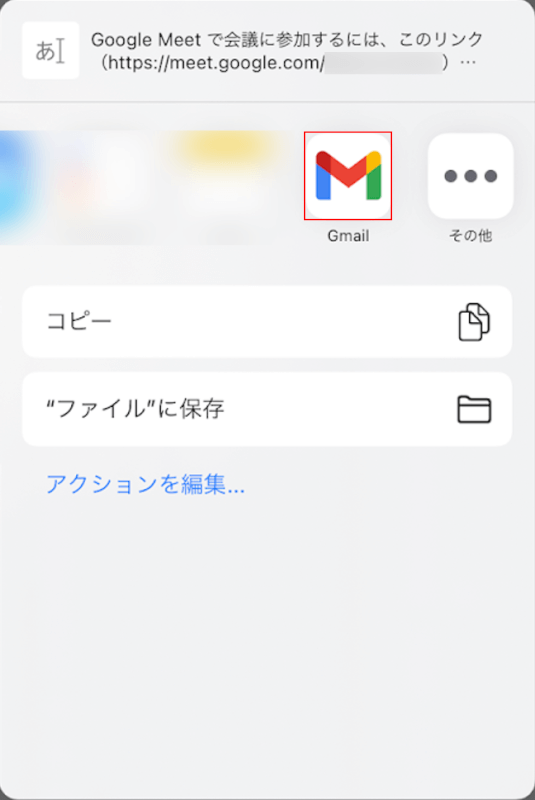
ここでは、自分のGmailからリンクを送信したいので、Gmailを選択します。
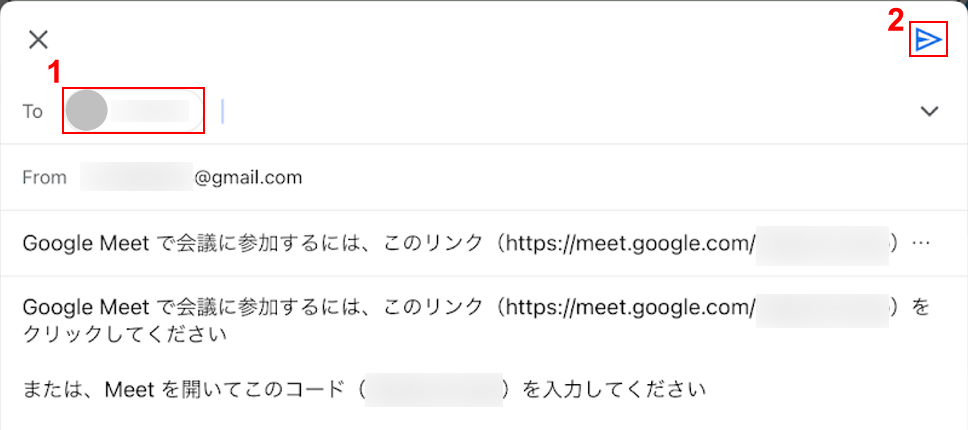
①相手のメールアドレスを入力し、②送信ボタンをタップします。
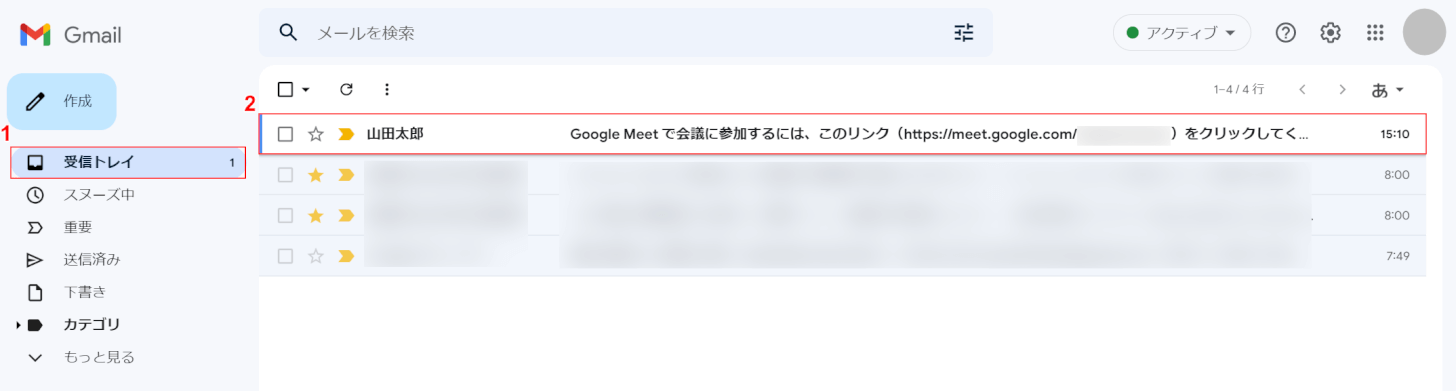
ゲスト(PC側)のGmailに新着メールが届きました。
①受信トレイ、②新着メールの順に選択します。
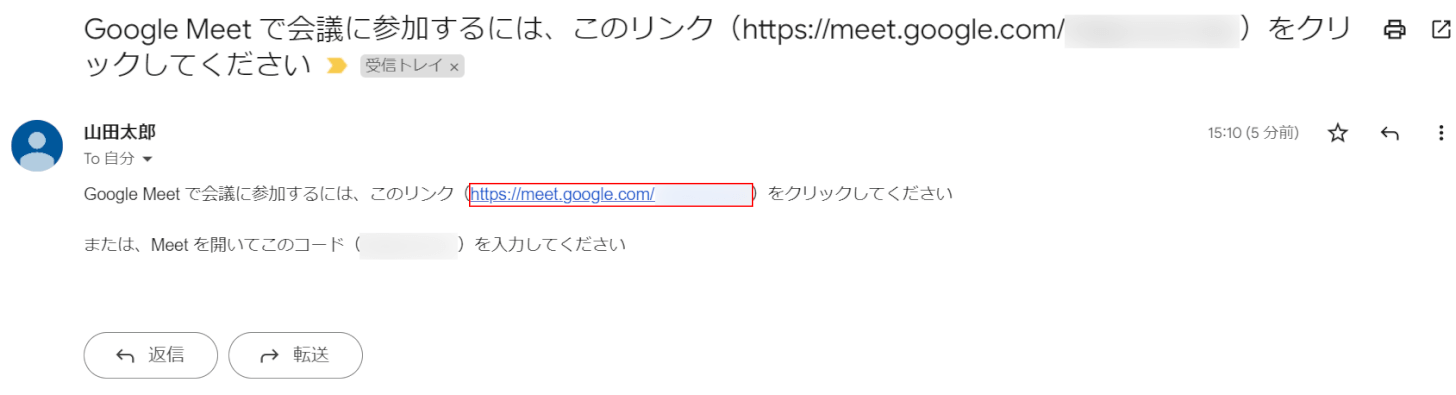
ホスト(iPad側)のリンクを開きます。
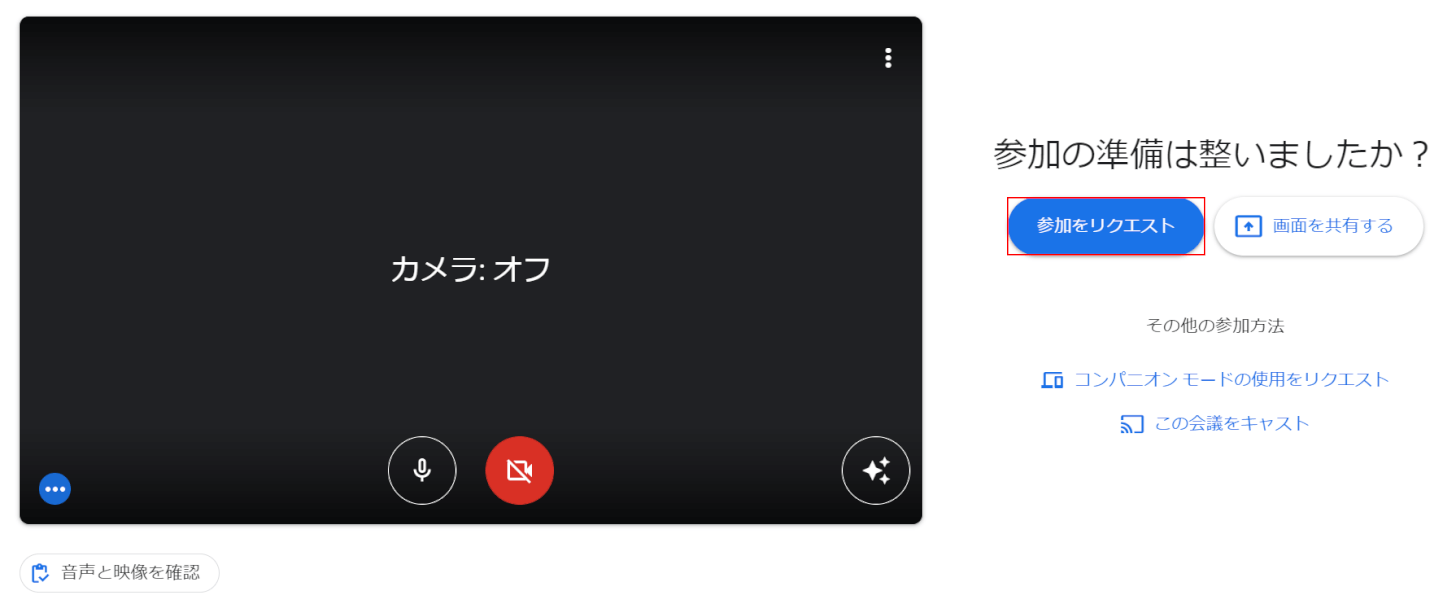
リンク先に遷移しましたので、参加をリクエストボタンを押します。
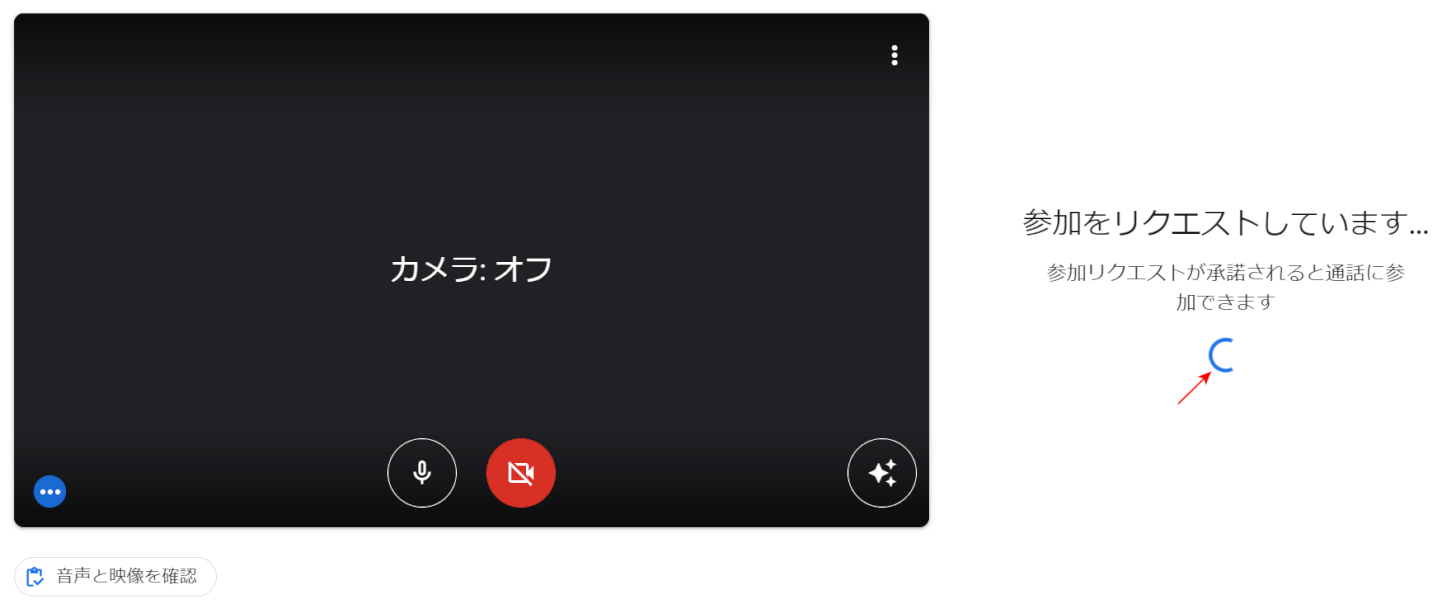
参加のリクエスト中になりました。
ホスト(iPad側)が承認するまで待ちます。
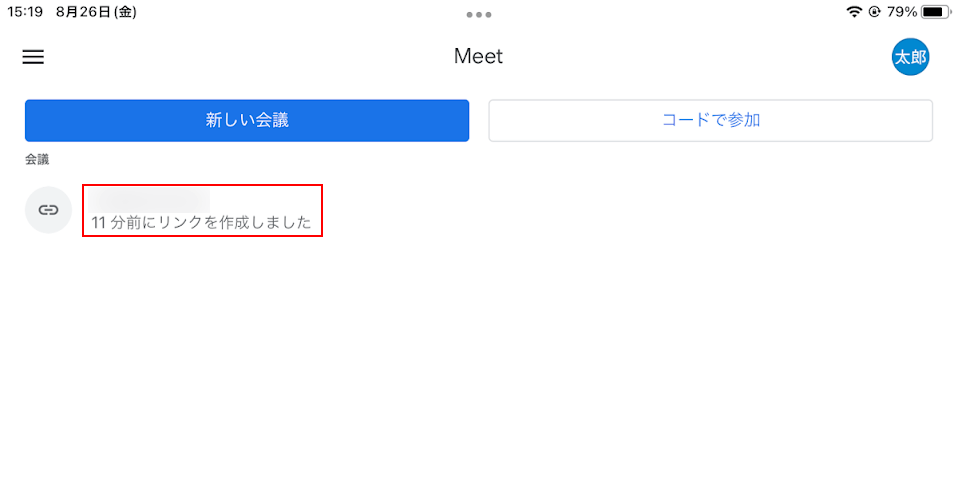
ホスト(iPad側)のGoogle Meetアプリの会議画面です。
先ほどゲストに送ったリンクを選択します。
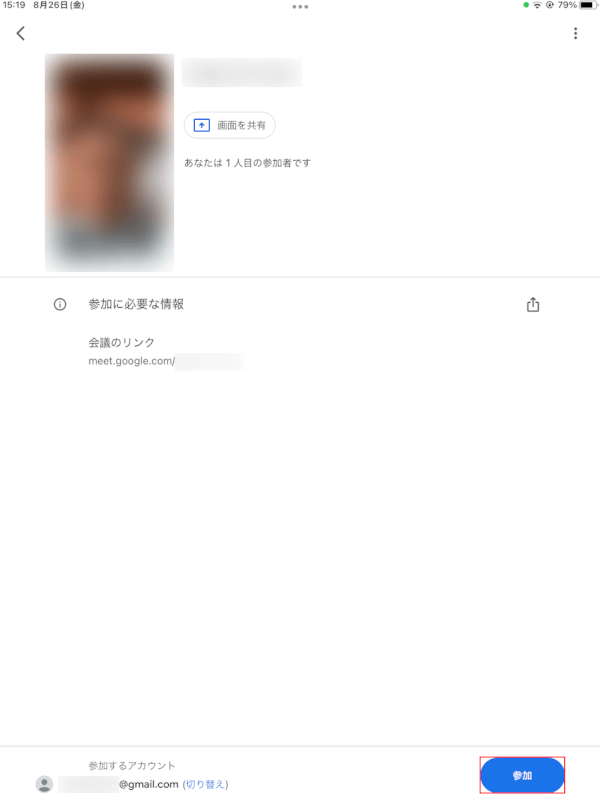
「参加するアカウント」を確認し、参加ボタンを押します。
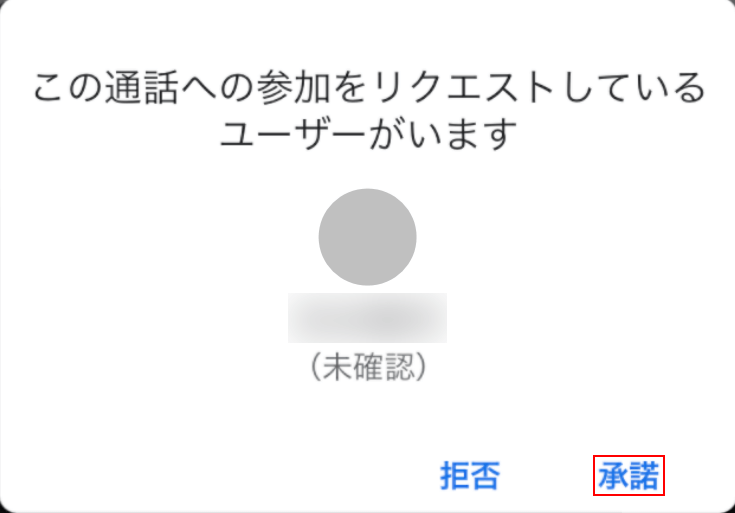
すでにゲスト(PC側)からのリクエストがあったので、承諾をタップします。
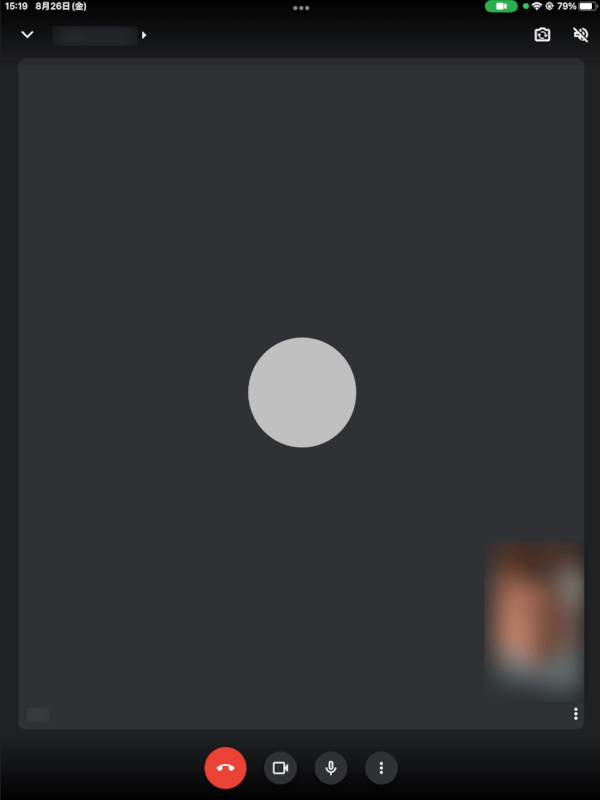
ホスト(iPad側)とゲスト(PC側)の間で、会議できるようになりました。
iPad版のレイアウト変更
iPad版のレイアウト変更はできない?
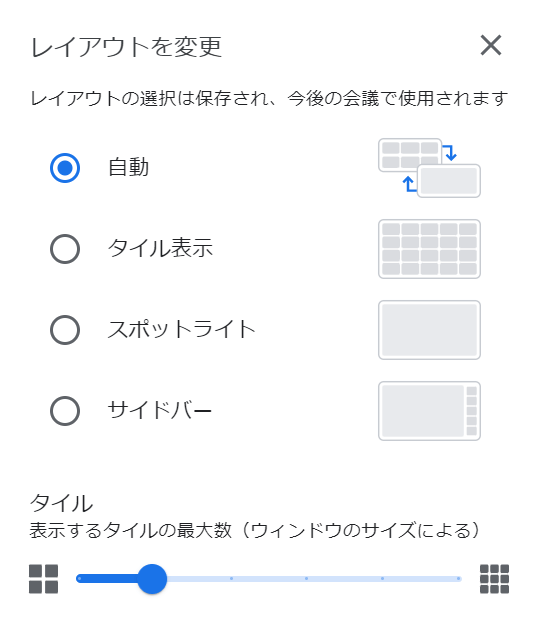
上図のように、PCの会議画面では、自動、タイル表示、スポットライト、サイドバーの4つのレイアウトが選択でき、表示するタイルの最大数も選択できます。
しかし、Google MeetのiPad版では、会議画面のレイアウト変更は全画面表示のみしかできません。
iPad版で全画面表示にする
Google MeetのiPadアプリで会議画面を全画面表示する方法について解説します。
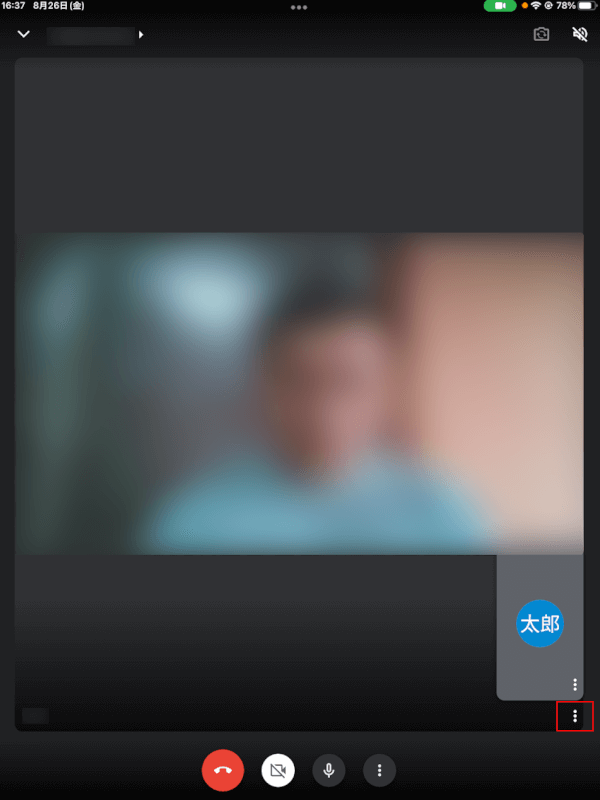
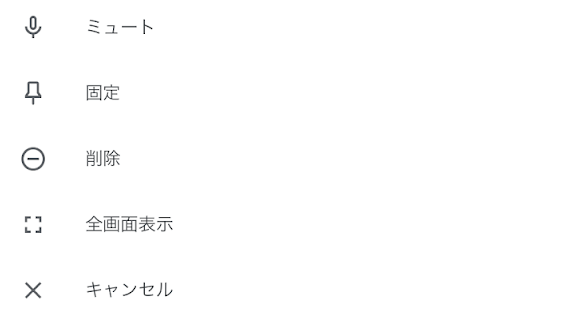
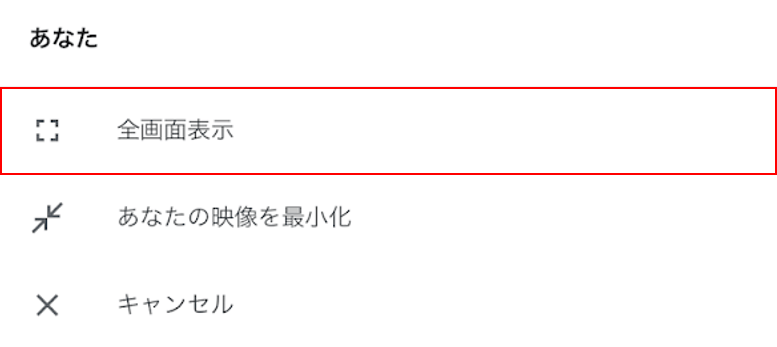
iPad版Google Meetの会議画面を開き、上図の赤枠の...を選択します。
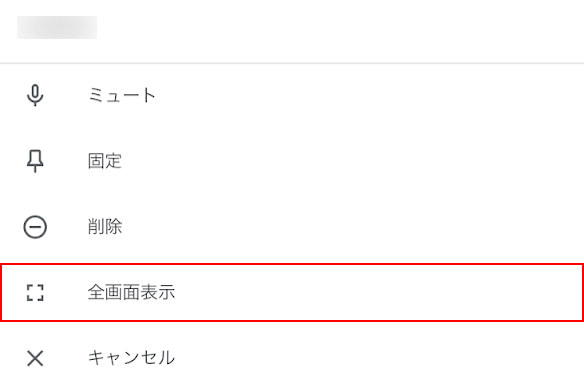
全画面表示を選択します。
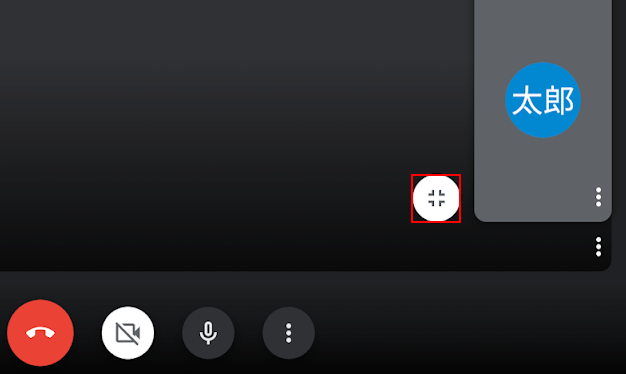
全画面表示のアイコンを選択します。

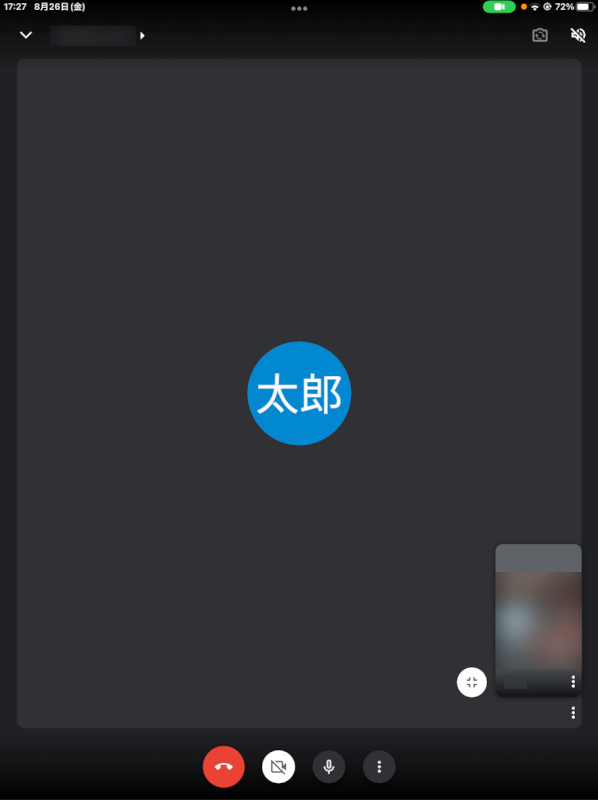
iPadの会議画面が全画面表示になりました。
iPad版で自分側の画面を大きくする
Google MeetのiPad版では、会議中に自分側の画面を拡大することができます。以下、その方法を説明します。
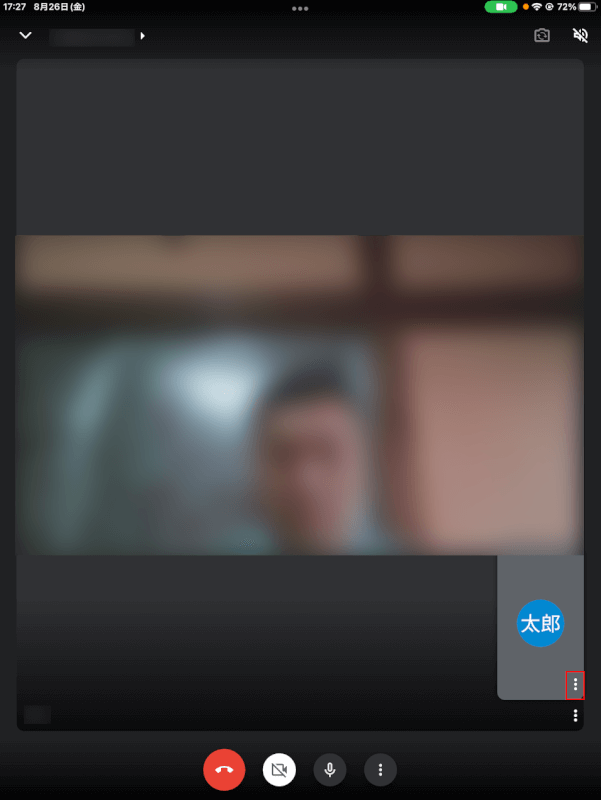
Google MeetのiPadアプリを開き、自分の画像内にある赤枠の...を選択します。
全画面表示を選択します。
自分側の画面が大きくなり、相手の画面が縮小しました。